Taking photos is a rewarding passion. Being able to capture and express your feelings through an image is an amazing feeling. When one starts taking photos all images seem beautiful and unique. However, after some time taking photos you start to notice that you have a lot of room for improvement. Maybe the light wasn’t good enough, or there are distracting elements in your picture. I’ve been there and it can be quite frustrating to realize that a good image has been ruined because of something you did. But there are things that one can do to improve his or her photography skills.
Before we start, let me say that when you start detecting the flaws at your own images, you are already getting better at photography. Also, I have never met a photographer that could take a photo and say: I wouldn’t change anything of how I took it. You can be very proud of the result, but there are always things that could be improved. Being critical with yourself is okay, but being too critical with your own work is not. There are limits and things that no matter how experienced you are, you can’t change.
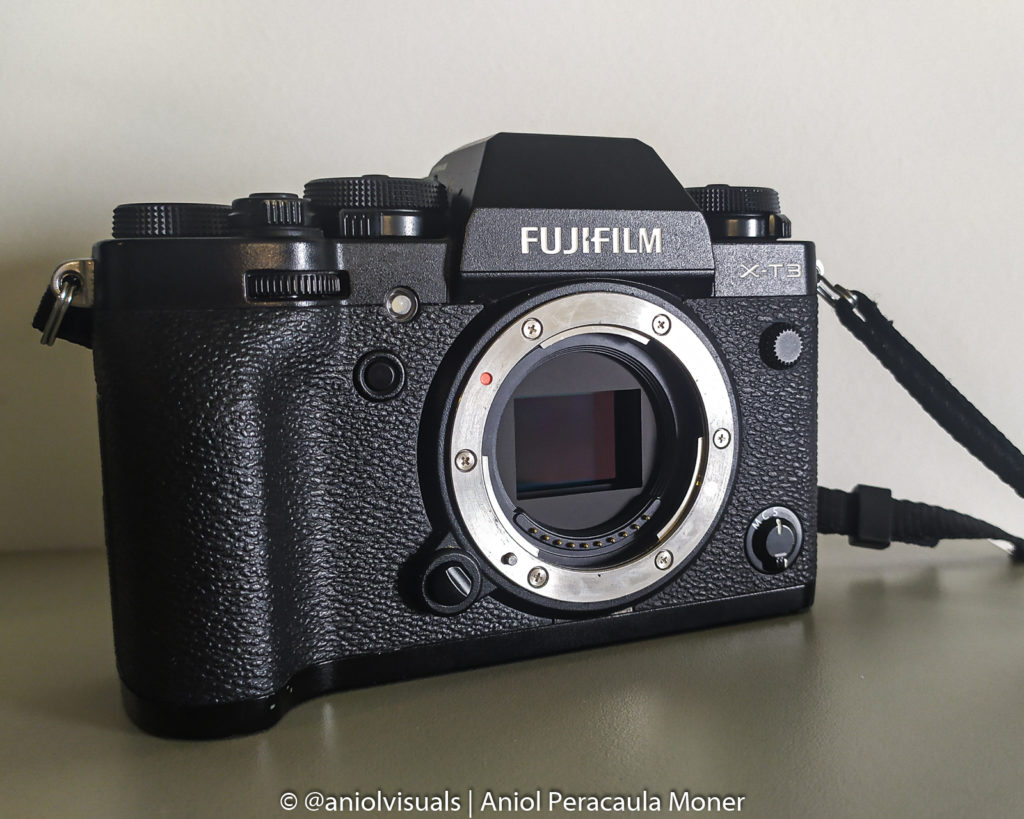
Moreover, I am not listing any gear in this list. Of course, gear can make you take better images. Everyone says that your camera does not matter, but a better camera makes things easier. What is true, though, is that a good camera does not make you a good photographer. In fact, using limiting gear can make you improve as an artist, as you have to find ways to do things that your camera can’t.
Without any further delay, these are my top 10 free tips to improve your photography skills.
1. Know your camera
I am not a huge fan of instructions booklets. In fact, I usually avoid reading them. I like exploring and trying what each button and option do on my own. To really master photography, though, you need to know exactly what are the possibilities of your camera. Let me tell you about the moment I realised I should have read my camera’s instruction booklet.
3 am, in the middle of nowhere, pitch dark night. I am alone, shooting the milky way. Conditions couldn’t be better. No moon, no clouds, no light pollution. I grab my camera, change the location, and I start setting everything up for the next shot. The right shutter speed, the right ISO… and then, out of nowhere, the indicator that was showing where my focus was at, disappeared. I couldn’t set the hyperfocal, and I didn’t know how to bring the indicator back. If I had read the booklet, this would not have happened.
Besides, information booklets usually have lots of information and details that you didn’t know, or that although you were aware fo them, you didn’t know how to use. A good photographer has to know how his camera works.
2 Shoot raw and manual
Once you know how your camera works, you can shot manual. Shooting manual means controlling almost every little technical detail when taking a photo. In the beginning, the results can be awful, overexposed images, out of focus, blurry… After some practice, though, the quality of your images will increase substantially.
Moreover, try to shoot RAW. When you take a photo, your camera can process the image, and transform it into a JPEG (or similar) file, or keep it as it is taken, in the so-called RAW files. Each camera brand has its own RAW extension, but to simplify, shooting RAW means having larger documents, with way more information in it. If a regular JPEG image is 15MB, the RAW version can be 50MB. Those RAW files can then be processed using an image editor (Lightroom, for example), and edited way more thoroughly than if you were using the JPEG file.
Note that once a document is in a JPEG extension, it can’t be set back to RAW. Therefore, as tip number 1 states, know your camera, and learn how to ask it to keep the RAW files.


3 Learn from your mistakes
The third tip to improve your photography skills is one of the most important ones. There is a saying that goes: “If you don’t try anything you can’t fail”. And in photography, you will fail a lot. It can be annoying to find out after a shooting that you did not have something activated, that you were shooting at a wrong ISO, or any of the hundred errors I have committed during my years as a photographer.
Each of these mistakes has played a crucial role in the development of my photography skills. Every photographer has its own personality and a routine that follows when shooting. Interestingly, most of those routines have been created thanks to failing. A long time ago, I never checked my ISO before shooting. I was always so eager to shoot. Therefore, I embraced this part of my personality and decided that after each shooting, I would set my ISO at the native level.
Learning from our mistakes can be painful, but it is an essential part of photography (and in most things of our lives). Be ready to fail, but learn things from failing.
4 Follow the rules
This tip applies to two different elements of the photography. The first one is the legal one. There are no photos worth your life. Unfortunately, it is something common to hear about people having accidents while taking photos. Maybe they were too close to a cliff, or tried something that weren’t used to alone, or hiked without the necessary gear… Follow the rules and recommendations of authorities when taking photos, and ask for permission when taking portraits.
The second element of photography that “follow the rules” applies to is composition. As you will see in tip number 5, this isn’t something set on stone. However, it is very important to know the basics of photography. Things like the rule of thirds, the golden ratio, or the usage of leading lines are essential when taking photos. Practise each rule, and learn how to apply them to your photos. However…
5 Break the rules
Yes, in order to improve your photography skills, you will have to break some rules. Unlike in the previous point, I don’t mean legal rules. I mean photographic rules. In the follow the rules tip I was mentioning how important it is to follow the photographic rules. Sometimes, though, the scene requires to break them. Breaking photography rules can lead to different images, something quite difficult to achieve.
Note that in order to break the rules, you have to know the rules you are breaking, hence the importance of tip number 4. To practise this point, first have the rules in your mind, until you find a situation where those rules don’t apply. This will be the go sign, the confirmation that it is the time to break the rules.
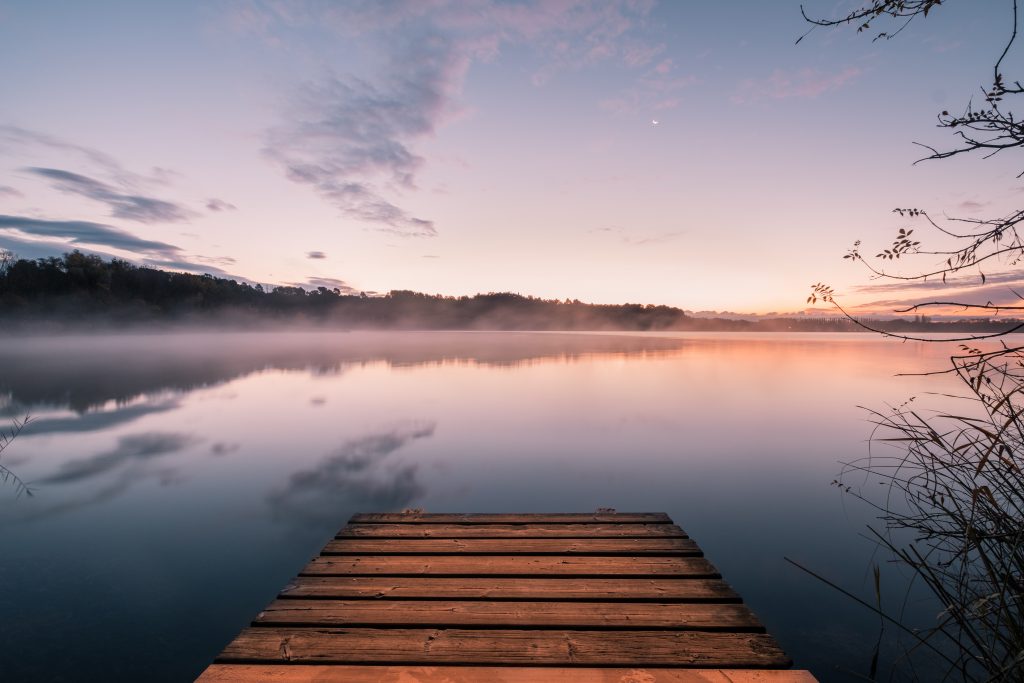
6 Shoot during non-optimal conditions
This is something I still have to force myself to do. When I started taking photos, I didn’t mind if it was 6 am or 12 pm, I would grab my camera and start taking photos. However, every photographer eventually realises that specific weather conditions lead to the best results in photography. Crazy sunset skies, moody rainy days, and windless mornings become my favourite shooting conditions. Suddenly, if the forecast did not predict any of those conditions, I would not even bring my camera or get up and go outside.
Shooting during non-optimal weather conditions has become essential for me now. There are many reasons why I recommend doing it. First of all, you will usually find fewer people outside if the weather is rainy, windy or not perfect. Secondly, if this is a new location, you will have the chance to explore it on different circumstances. Otherwise, if you already know the location, you can experiment and find that angle that you hadn’t seen before. It’s okay, you can come back another day and take it during an amazing sky. Finally, to improve your photography skills, you need to know how to make the most out of a location during bad conditions. Imagine you are doing some commercial photography, and the sunset is not as amazing as you would like. Will you go back to the client and say: sorry, no photos, the weather wasn’t optimal?
7 Shoot less
Many photographers say that as their skills in photography increase, the number of photos they take, decrease. I can relate with this. At the beginning every photographer shoots like a headless chicken, taking hundreds or thousands of photos in a single day. Not only this means adding a lot of post processing time, but also losing focus or perspective of the scene.
Shoot less doesn’t mean don’t shoot. It means go out as often as you can, but plan your image. If you take five minutes to analyze the scene before shooting, you will realize what are the distracting elements and the possible compositions. Once the concept of the photos has developed in your mind, grab your camera and take the photo.
Something that helps me a lot is to keep my camera in the bag, and only scout using my phone or just walking through the scene. However, to do that you have to know very well how the lens you will be using will capture the scene. At the end, try to observe more and shoot less. The final images will reflect it.
8 Learn how to edit your photos
The process of creating a photo shouldn’t be simplified to the moment when the image is taken. Planning, scouting, compositing,… have a huge impact on the final piece of art, and so does edition. For those that see photography as a way to express how a specific moment felt, the edition is a very powerful tool. Everyone has its own favourite editing software. I mainly use Adobe Lightroom and Photoshop, but there are many other options out there, and all of them will help you get similar results.
Learning how to edit is as complex as learning how to take photos, but it is a very rewarding process. My first edited images (years ago) were super overedited, non-balanced, and not very realistic. It took me more than 2 years of editing an image a day to create my own editing workflow, and more importantly, to learn what are my personal limits when editing images. Find your own workflow, and keep updating it!
9 Leave your comfort zone
If you want to improve your photography skills, you will need to get out of your comfort zone and try new things. If you only take photos of landscapes and never try urban photography, you will never discover what skills from urban photography can be applied to landscape photography.
One of the reasons I see myself as a travel photographer is this one. I like leaving my comfort zone. I love landscape and nature photography but among all things, I like exploring new places. No matter if it is a new building, a forest or some random’s city marathon. I will grab my camera and shoot it. Besides, maybe you try a new discipline and you fall in love with it!
10 Get to the location early
I can’t stress how important this point is. Luckily I am a punctual person, on my personal life and on my photography photoshoots. One of the things I have mentioned during this article is that you can’t get to the location and start shooting. Some scouting, observation and planning are encouraged. Therefore, if you want to shoot during the golden hour, get there 30 minutes before the golden hour starts.
Even if this means waiting for the sun to set for 20 minutes. It is always better to wait than to miss a magical moment. Same applies to other types of photography. Are you shooting a marathon? Get to the location before the crowds. Explore it, see where the light is coming from, and choose your position.No matter what you want to photograph, getting there on advance is crucial.
Bonus Tip: Get inspired by others
Social media is amazing. There are lots of photographers, videographers, and artists out there creating jaw-dropping pieces of art. Go online and get inspired by them. Instagram, Facebook, 500px… or even local art exhibitions. I particularly enjoy paintings. The way some painters use colour is amazing, and it is something I try to portray in my edits. Find your own source of inspiration!
Conclusion
If you want to improve your photography skills you don’t need a better camera. There are many things that you can do to get better at taking photos. Do you have any other useful tip? Share it in the comments below!
Thank you for reading my 10 free tips to improve your photography skills! If you want to keep updated with the latest articles I post and see more of my work, you can follow me on my Instagram! See you there!
Drone photography with a DJI Mini 2: best tips to take amazing photos
10 reasons to stop posting on Instagram as a creator
Solo travel photography: 11 tips you have to know
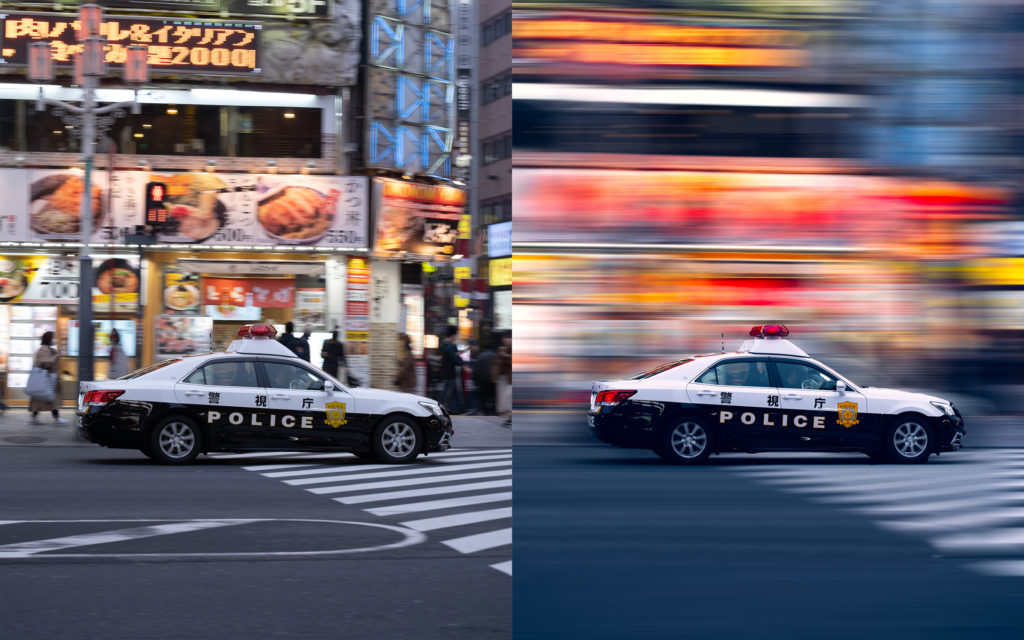
Panning photography: how to take it and how to fake it (Photoshop)
10 differences between camera and smartphone photography: an ultimate list
How to get better at smartphone photography
7 tips for amazing cloudy sunset (and sunrise) photography

How to get started with drone photography: a step-by-step guide
My best 2020 images. Part II: Japan photography
My best 2020 images. Part I: Spain photography

How to set goals that will improve your photography [2021]
How to capture motion in photography
9 amateur photography mistakes and how to avoid them
How to improve your photography skills: 10 free tips

10 apps that will help you take better landscape photos
14 things you should know about Sunset Photography

Waterfall photography: all you need to know. Gear, settings, and tips
How to take amazing photos on a cloudy day
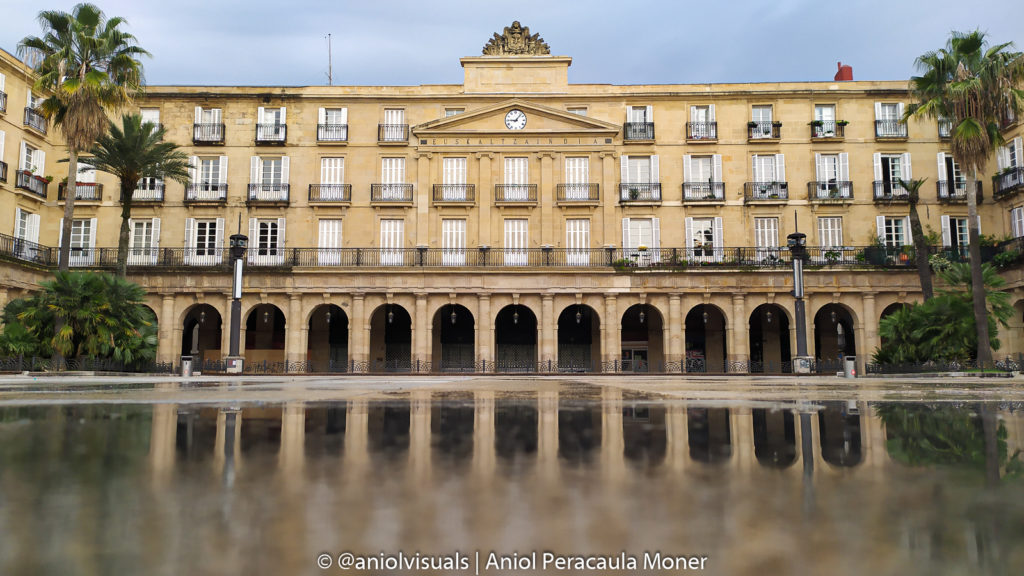
How to take amazing reflection photos: 10 tips you must know
Long exposure vs short exposure photography: things you need to know
Long exposure photography for beginners: an ultimate step-by-step guide
Sunrise vs Sunset photography: things you need to know