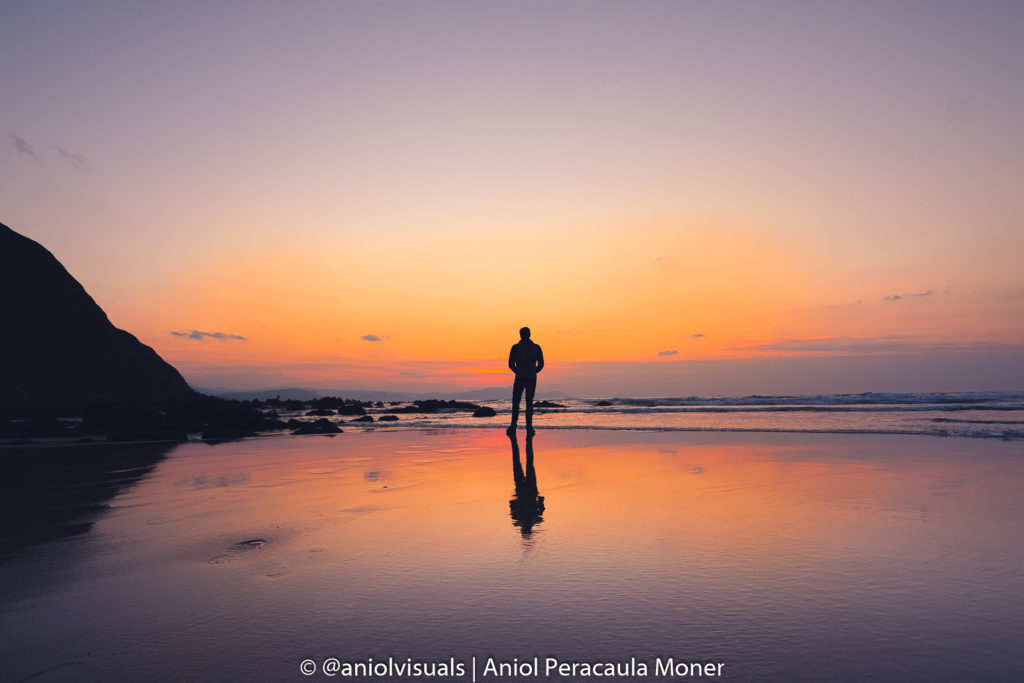
A photo is a story. Every photo has a goal, something that wants to tell. It can be a product image, telling you how amazing a product is. It can be a landscape, showing you how that specific moment felt. Or maybe it can be an urban photo, capturing a specific moment in a hectic city. One of the things that photographers sometimes struggle to express is motion. However, there are many techniques that can help you add this special touch to your photo, bringing it to the next level. These are my 5 ways to capture motion in photography.
Most of the ways to capture motion in photography are based on using long-exposure. This basically means to take a photo that lasts for many seconds, sometimes even minutes, and capturing everything that happens during that time. A tripod and some ND filters are essential. To learn more about long exposure please refer to my long exposure guide
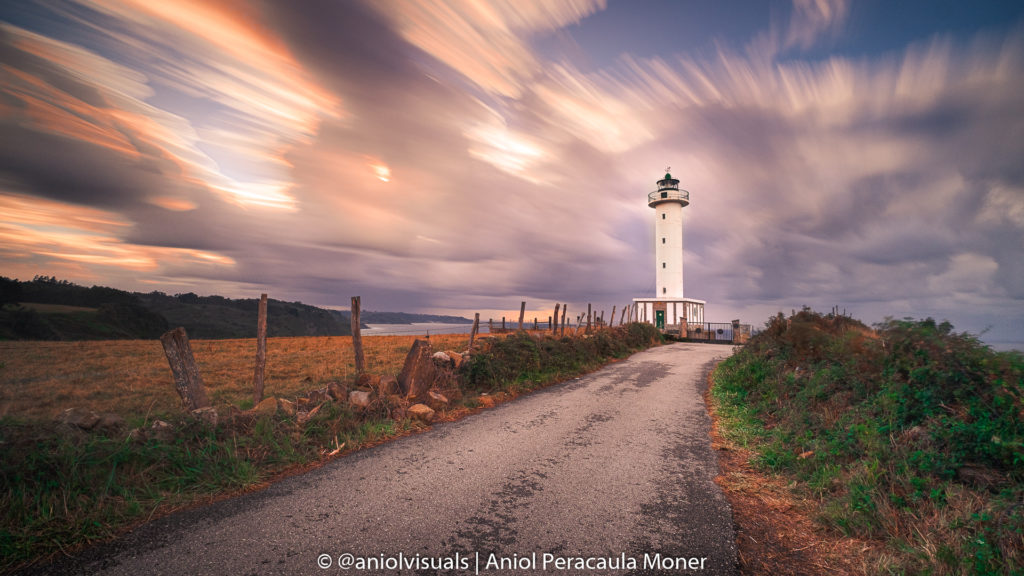
1 Clouds
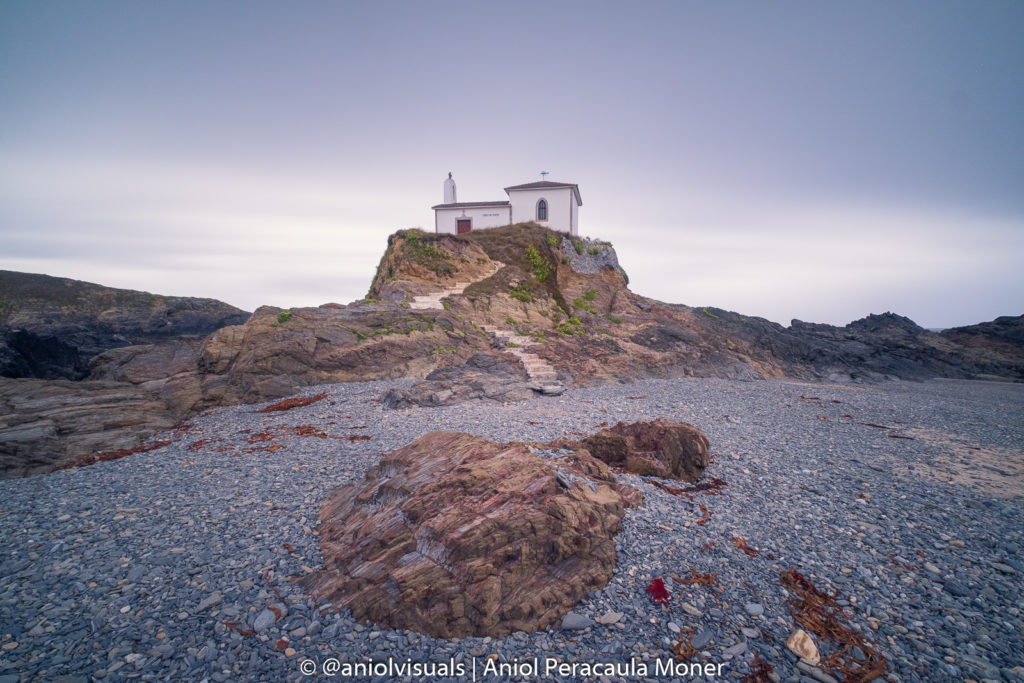
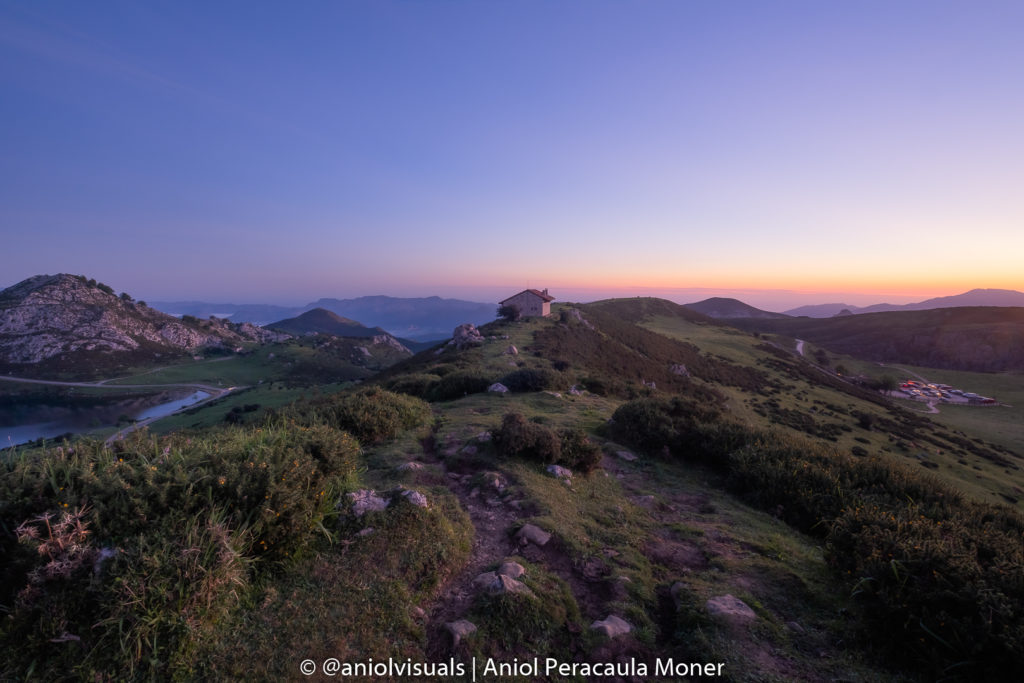
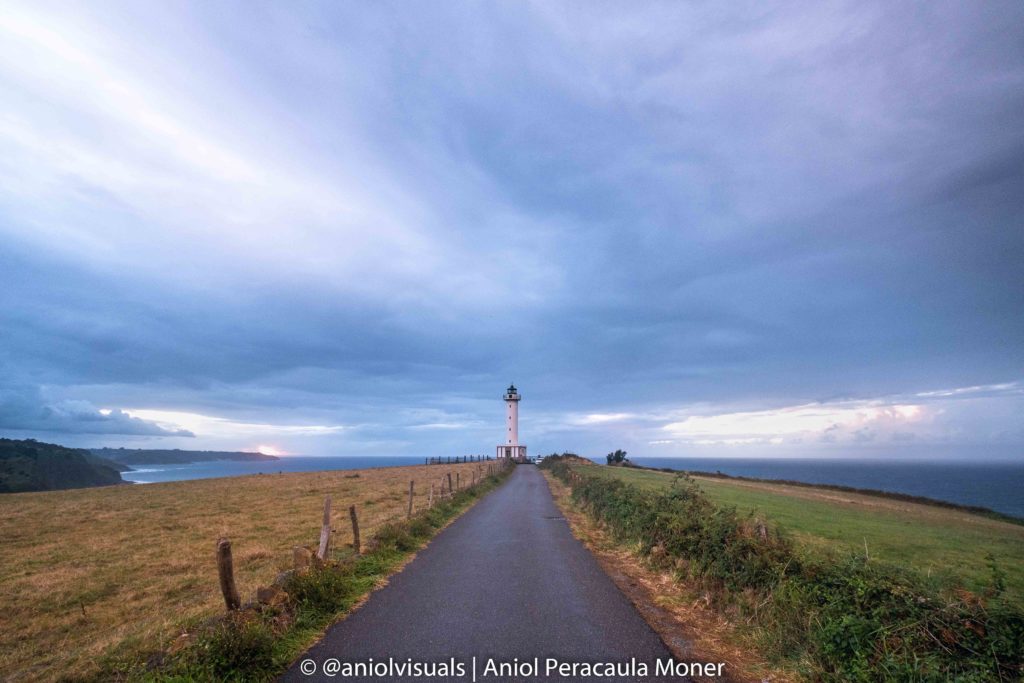
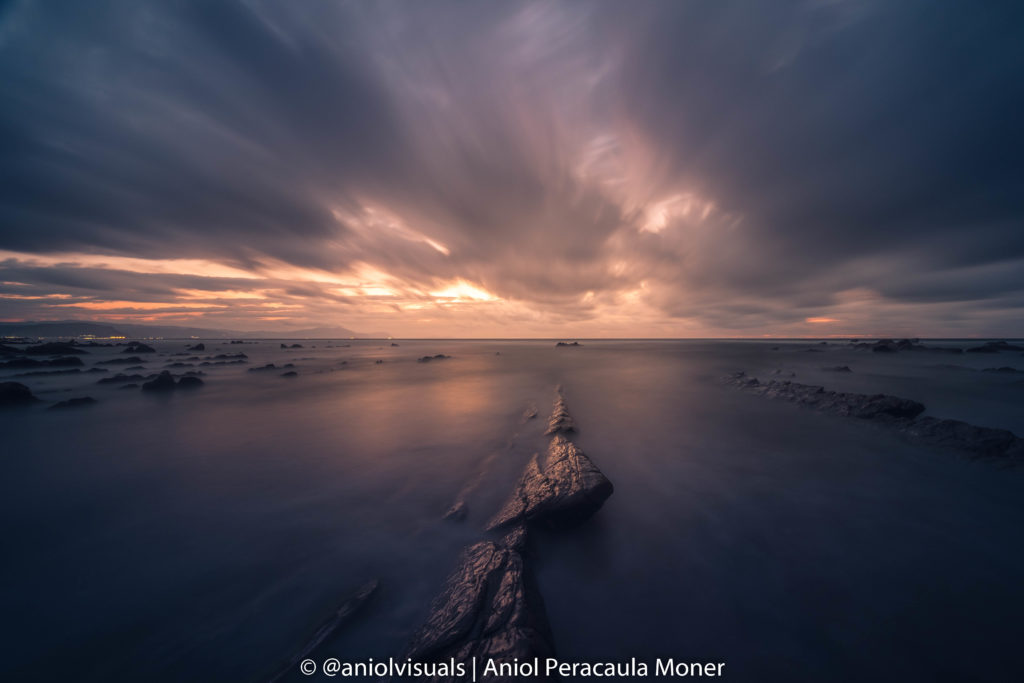
Clouds are an excellent way to capture motion. In fact, it is the easiest way (together with water) that you will find on this list. Cloudy days might look like non-optimal conditions for photography. This is only partly true. Cloudy days can be used to create moody and very powerful images. To capture motion using clouds, your goal is to record the movement of the clouds in the final image. To achieve it, long-exposure is your go-to technique. Therefore, it is important to have some ND filters if the scene is too bright.
The result will depend on many factors. The most obvious one is the exposure time. However, this is greatly affected by the speed of the clouds, determined at its turn by the wind speed. On a windy day, a 10 to 15-second exposures could be enough to see the effect. I usually get the best results with exposures from 30 seconds to 90 seconds, depending on the conditions. Another very important factor for the quality of the final result is the type of clouds. Low and mid clouds with a lot of texture are the best ones, as they move fast and are well-defined on the sky.
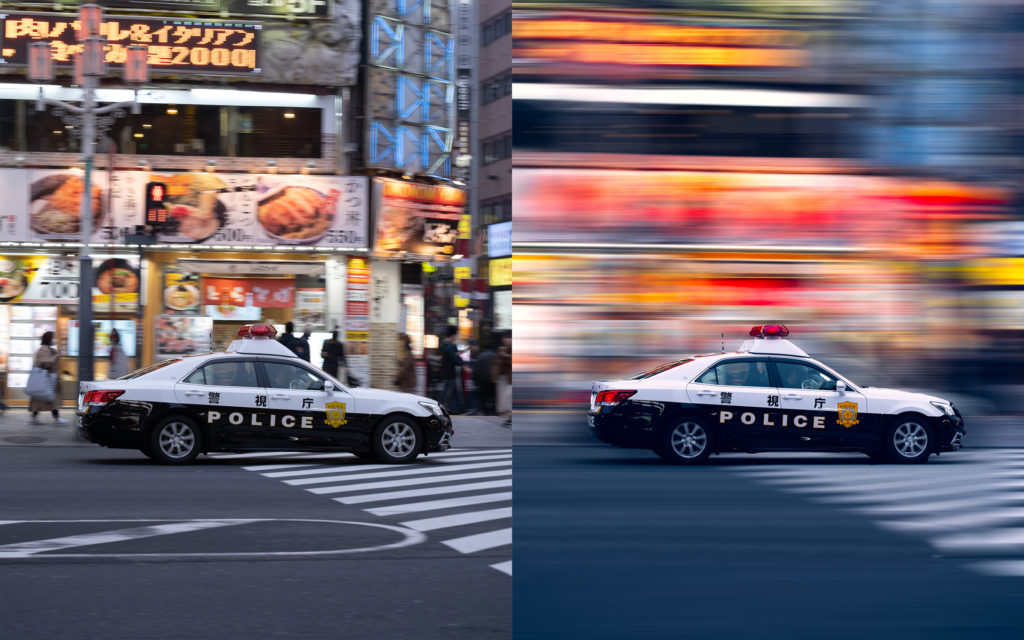
2 Panning
I am working on a specific guide about panning, as there is so much to tell about this beautiful although difficult to master technique. As a quick summary, panning consists of following a moving object with your camera, creating an image where the object is sharp, but the background is blurry. How is this possible?
Well, it is all about shutter speed. A long exposure image usually implies shutter speeds of 30 seconds, 1 minute… but with 1/5 of second shutter speeds, it is more than enough to get some of your best images ever. To practise, just get on the street and shoot at the cars and bikes. The key is to follow them with your camera as they approach your location and keep following them when you are taking the photo so that the background will be changing during the image, but the object of interest will be sharp.
It takes some time (and many photos) to get used to panning. However, it is very rewarding when you get a sharp and nice image, where motion is everywhere. Note that panning can be done with humans (sports, races) and animals.
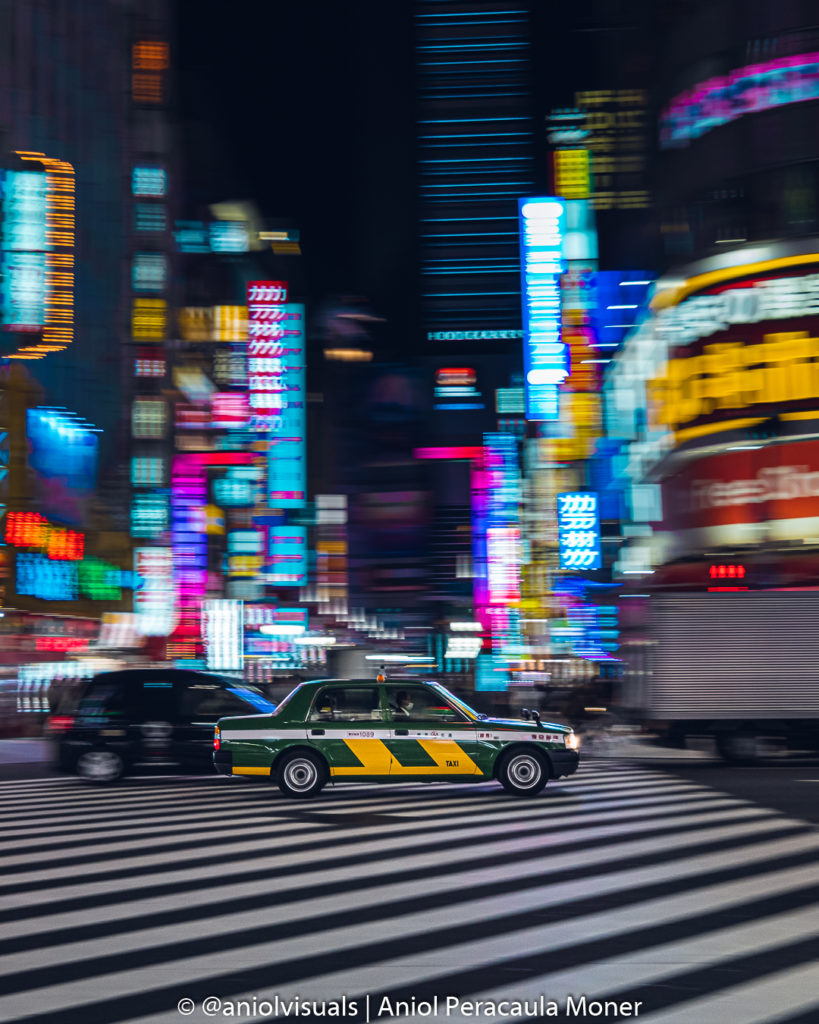
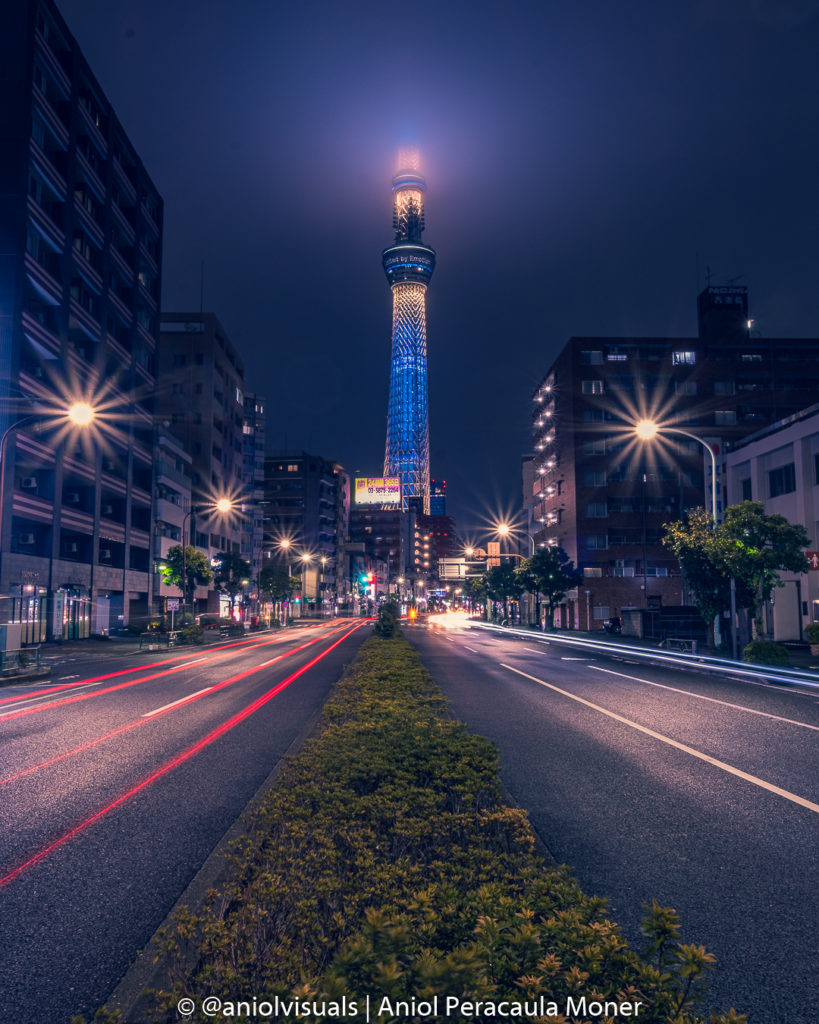
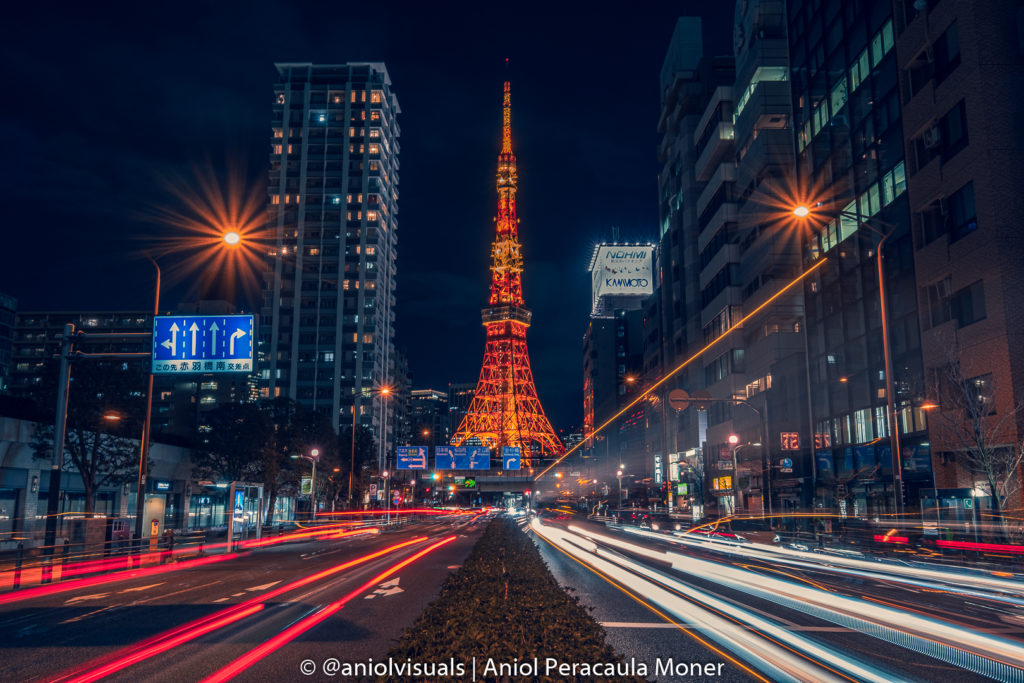
3 Light trails
Cities are hectic. Full of cars, buses, bikes… that when the sun goes down turn their lights on, making possible one of the most powerful ways to capture motion in photography: light trails. Essentially, light trails require a tripod and moving objects emiting light (fancy way to say cars, right?). A crossing, a busy avenue, a bridge over a highway… I love adding some object of interest at the image, if possible.
The technique is pretty simple: set your tripod, and take an image with enough exposure time to capture the lights of the passing vehicles. A couple tips for taking street light trails.
- Remember to take into account the traffic lights if you are in a city. Start taking the photo a couple of seconds after the lights turn green for better results.
- Try different camera angles. Shooting close to the ground changes the way the light trails look like.
- Explore other vehicles. Cars, buses, metro, trains, trams, even boats can give beautiful results!
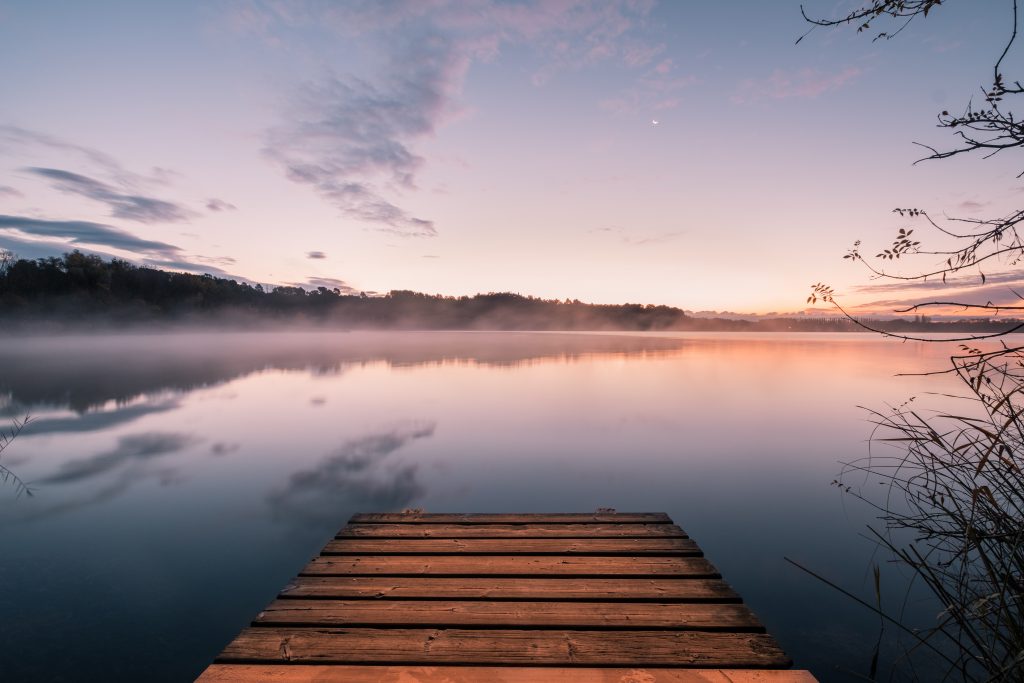
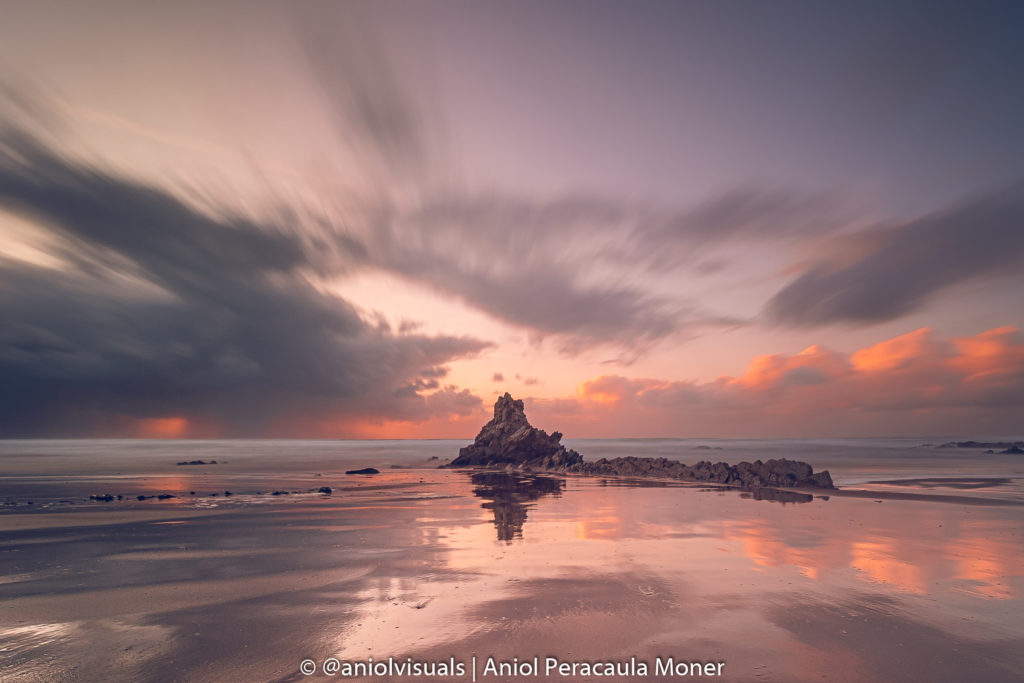
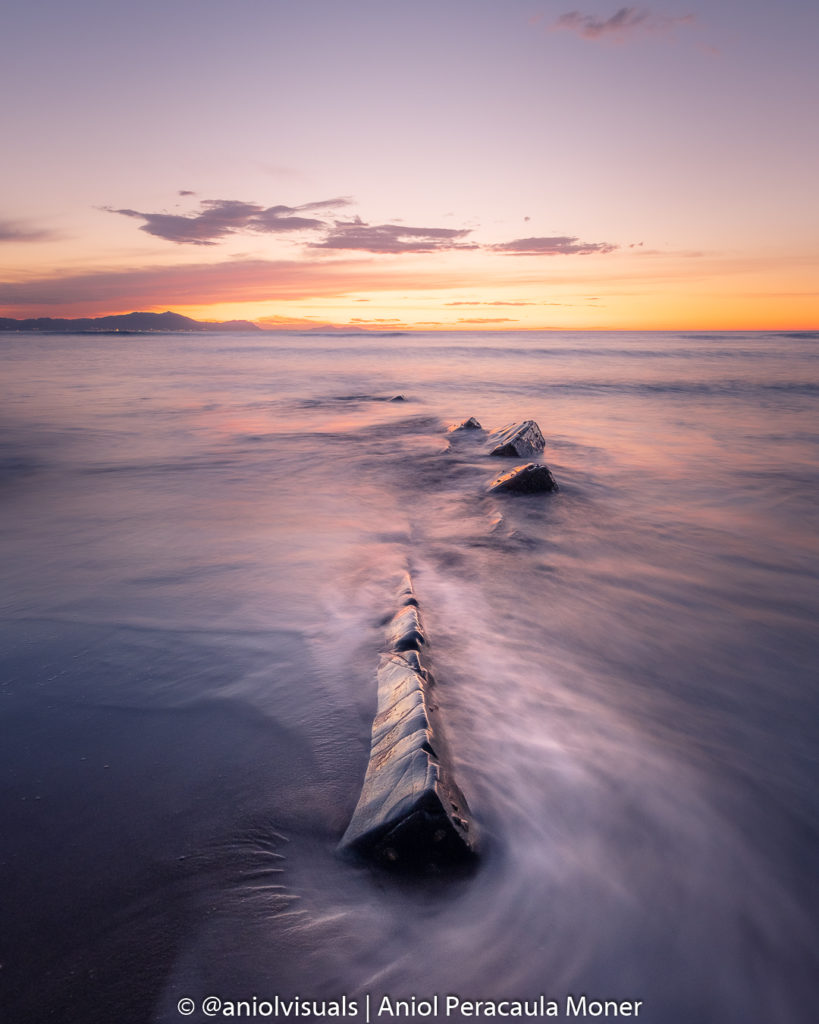
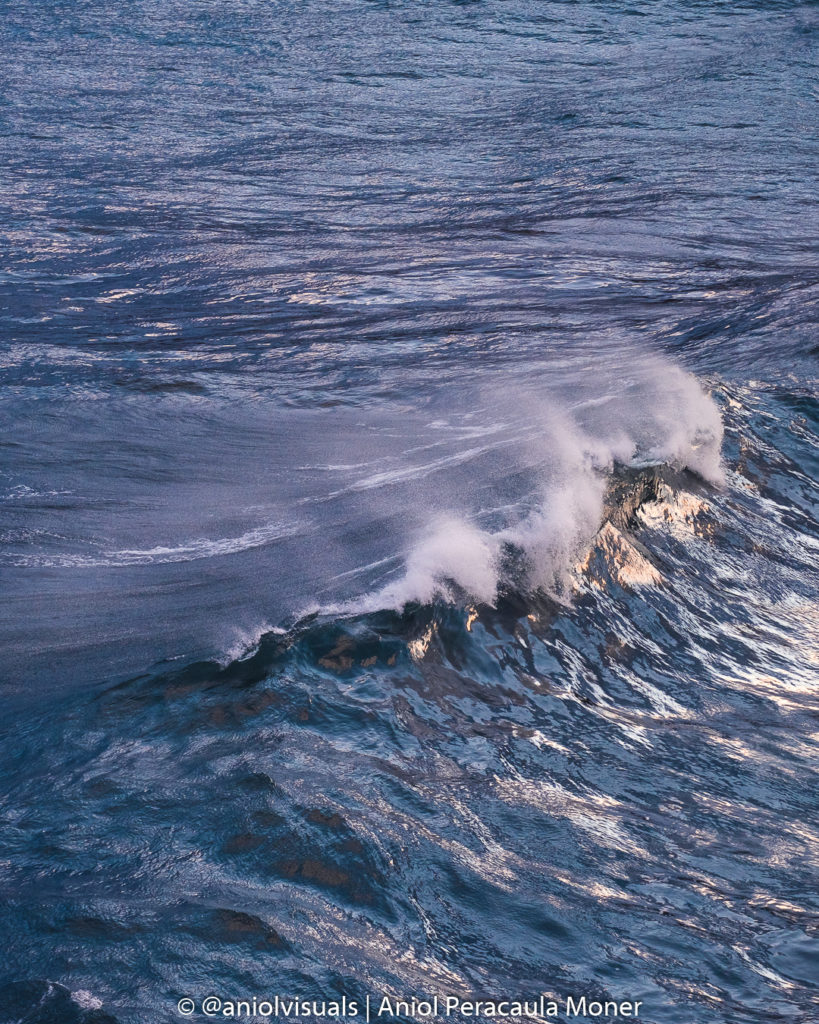
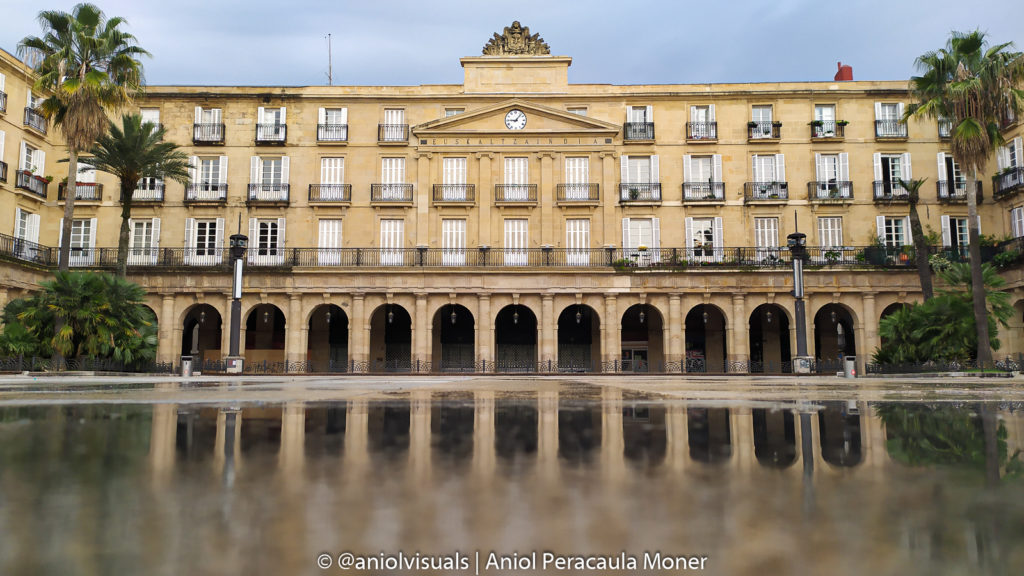
4 Water
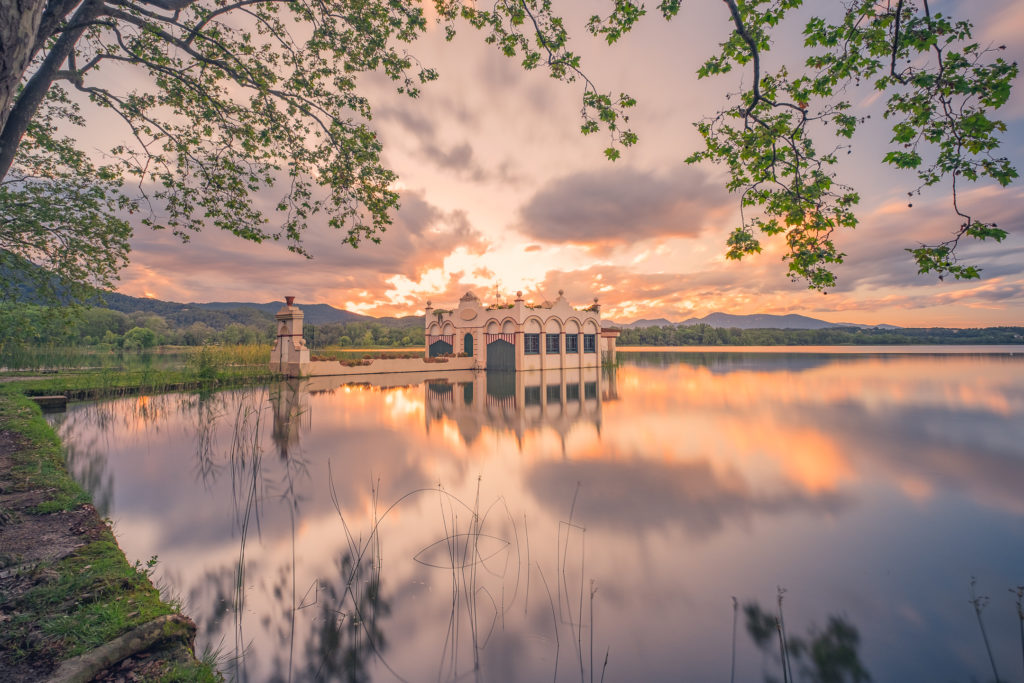
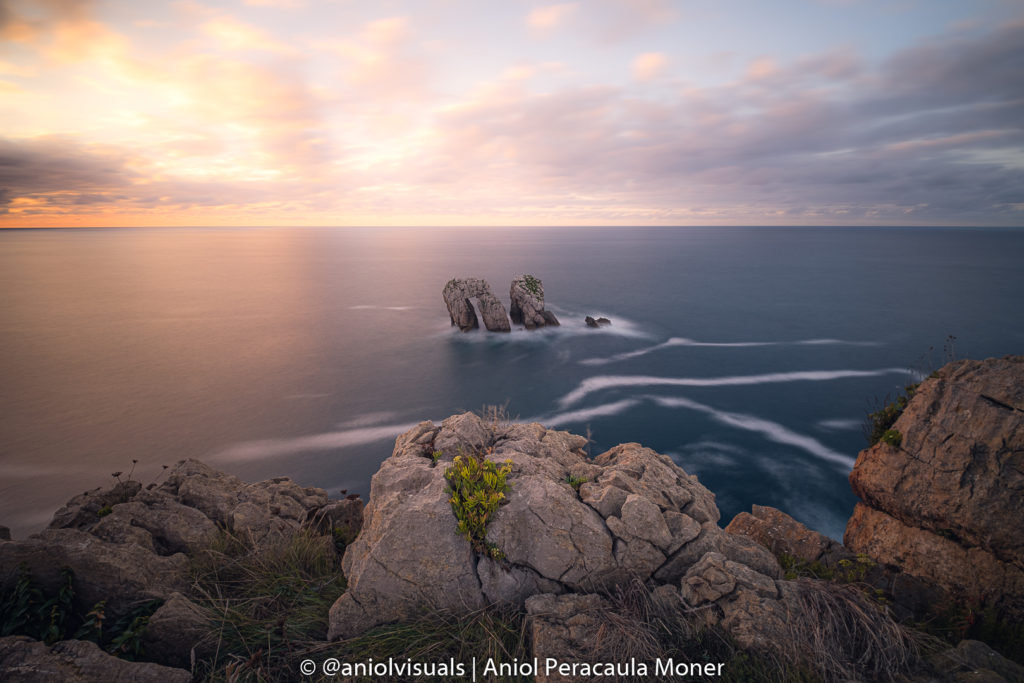
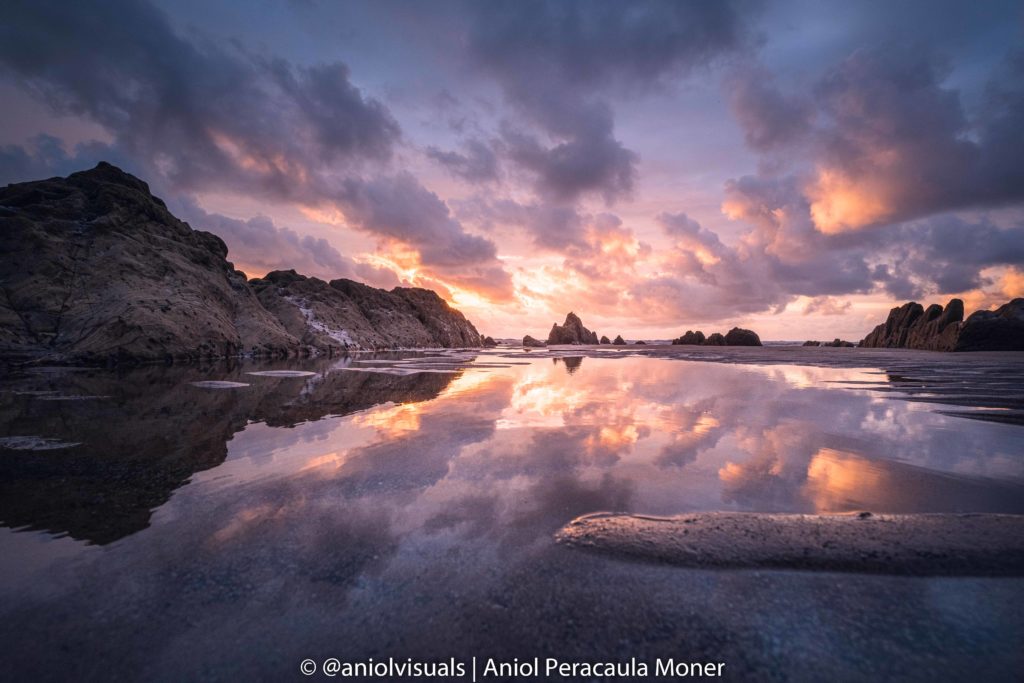
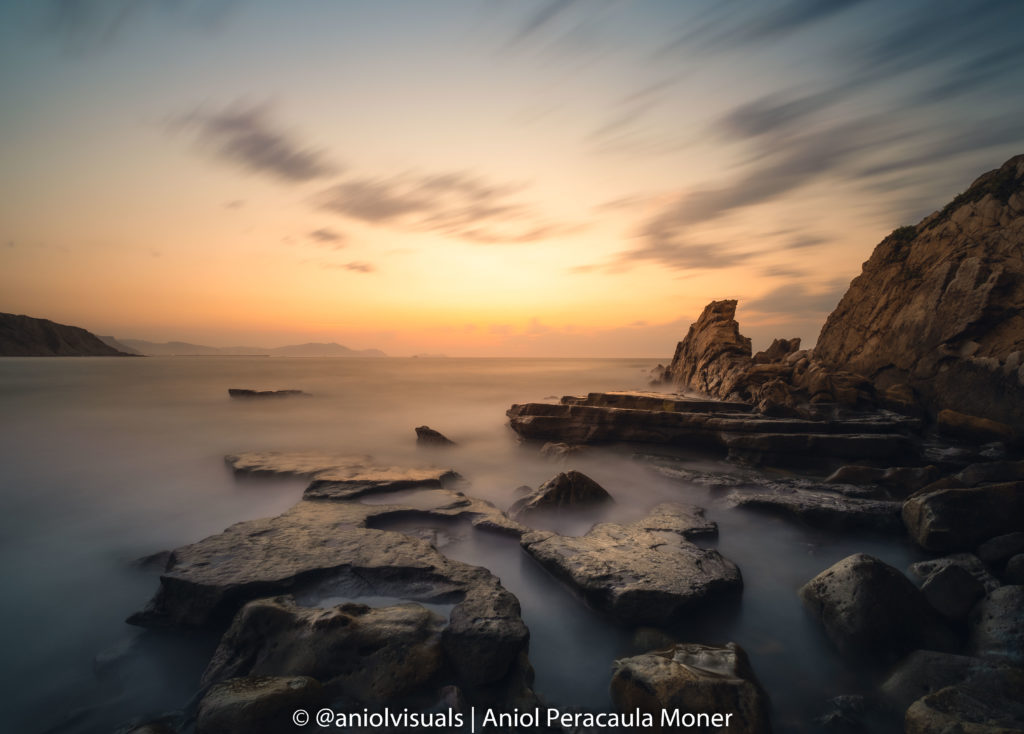
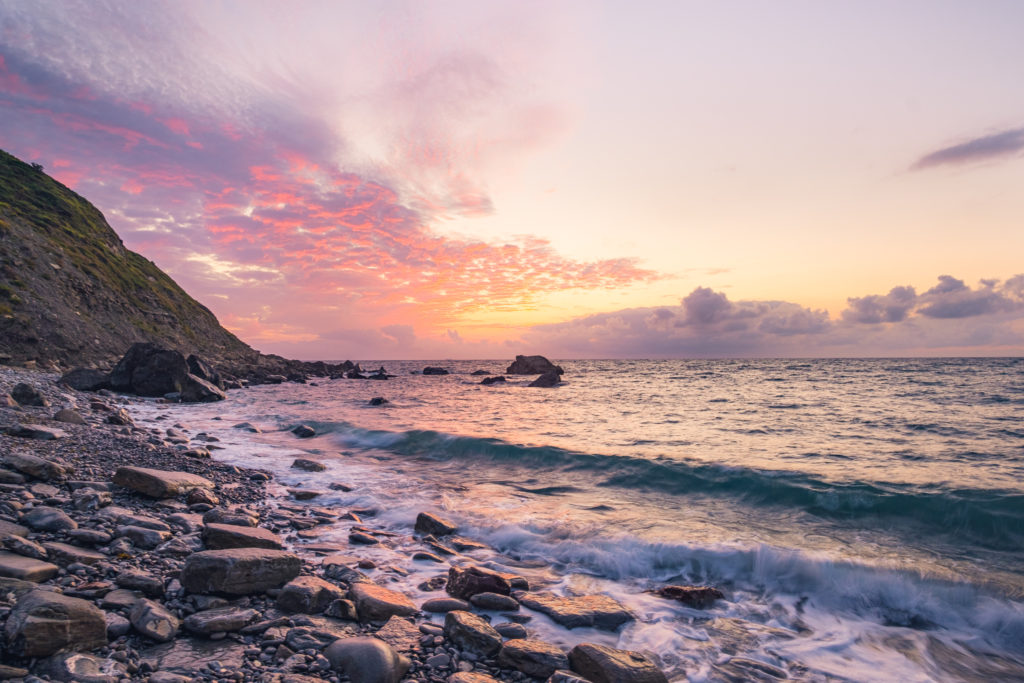
Water is motion. Lakes, rivers, waterfalls and oceans, are in constant movement. And capturing it is such a rewarding experience. My Instagram is full of waterfalls and beach shoots, and this is one of the reasons why. Capturing water in motion is quite simple. Just like in the previous examples, it requires a tripod, and a shutter speed that captures the movement. From 1/5 of a second in waterfalls to 1 minute sea exposures, resulting in quiet and peaceful images.
I have a whole article devoted to waterfall photography, but I deem relevant to mention that waterfalls and in general moving water change a lot depending on the shutter speed. Water and clouds are pretty similar in this case. Too long exposures will cancel the movement effect, in clouds because they lose definition and in water because of the excessive movement. This effect, however, is very useful to remove motion from oceans. Depending on your goal, on what you are trying to transmit, select one or another option.
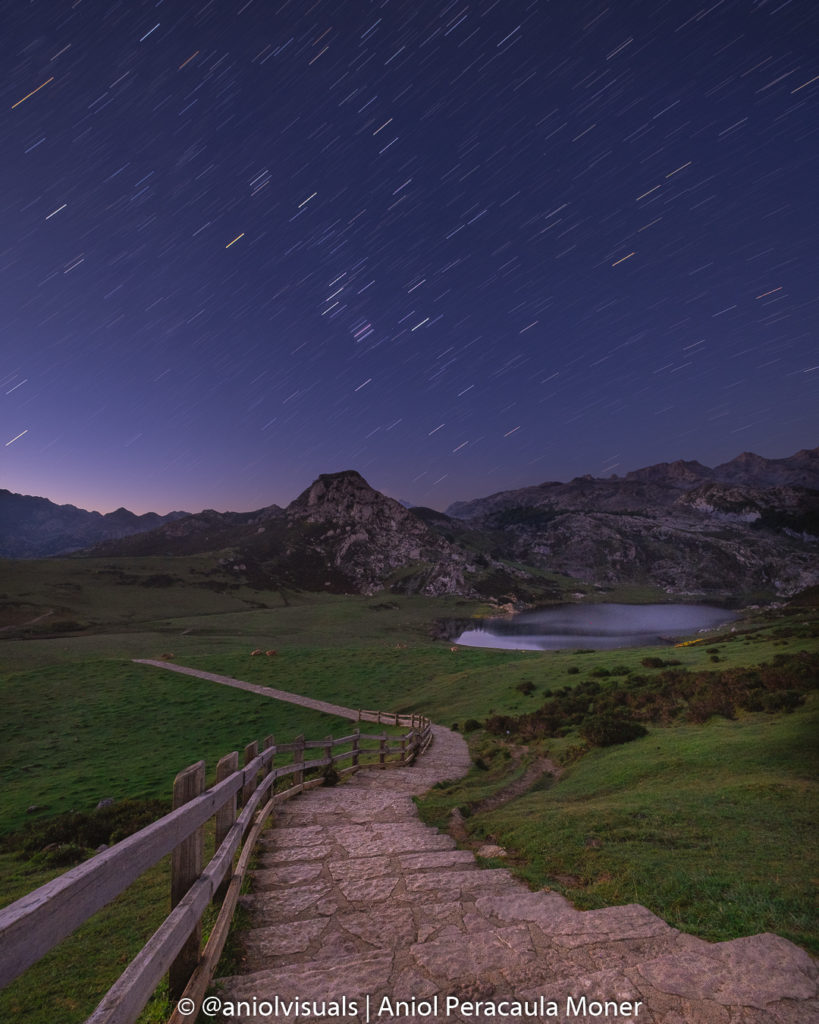
5 Stars
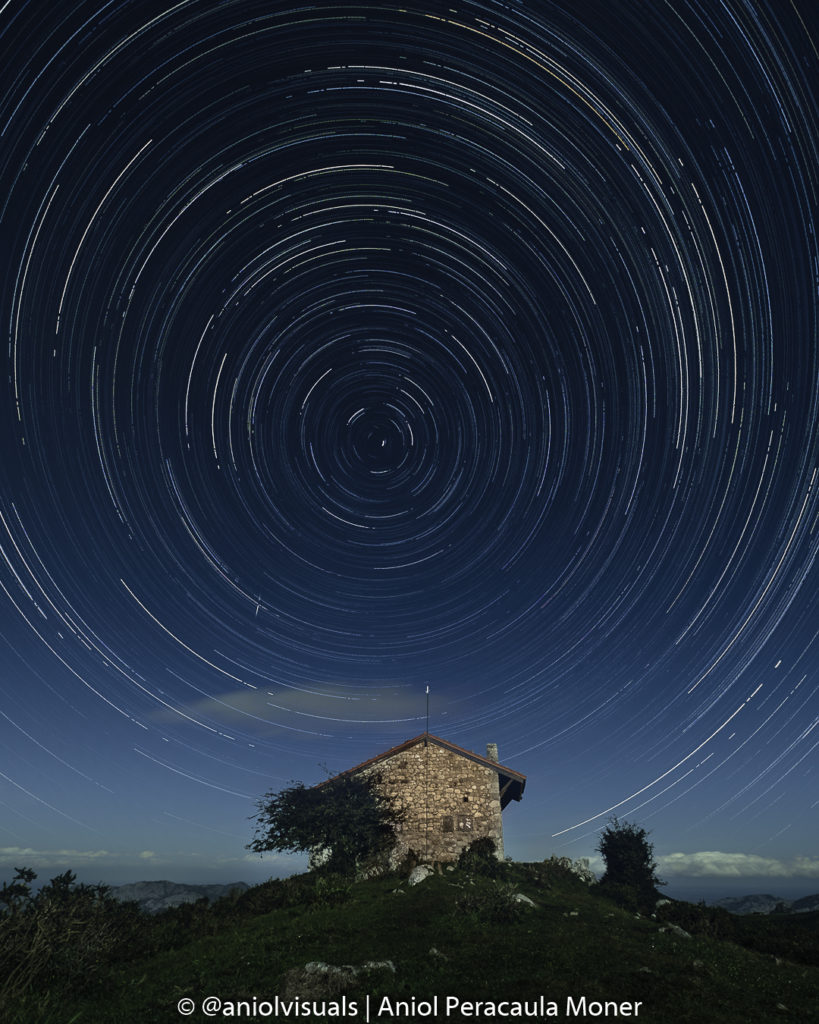
This is the last of the ways to capture motion in photography, and maybe the most spectacular one. The image below speaks for itself, but let me tell you the logistics behind this type of images. The Earth is constantly moving, therefore, during nighttime, it is possible to capture Earth’s rotation by taking multiple consecutive images of the sky. However, the rotation of the Earth has a special characteristic. There is one single star (Northern Hemispehere in my case, but works as well in the Southern Hemisphere) that does not change its position. This is the Pole Star or Polaris. This star is super useful to find the North during a cloudless night, and also to create amazing photos.
If you locate the Polaris, take multiple consecutive images (2 to 3 hours give me the best results), and then using some software mix the images, you will get something like the image below, where the movement of all the stars but the Polaris is captured. In fact, the movement that I am capturing is the movement of the Earth. This type of photography requires a cloudless night, lots of time and ideally no moon at all. Without the moonlight, more stars can be seen and the resulting image is more powerful.
When you have the Polaris on the image it is called a Circumpolar. However, it is also possible to capture the Earth’s motion without the Polaris. Sometimes you are forced to leave it out due to the object of interest position, or the composition forces you to do it. Images of both possibilities below (circumpolar and just star trails)
Conclusion
Did you know all these ways to convey motion to an image? What is your favourite one? Did I miss something? Tell me in the comments! If you want to see more of my images you can find me on Instagram, where I regularly share photos of my trips and adventures. I hope you enjoyed my how to capture motion in photography guide! Here you have some other articles that might interest you.
Drone photography with a DJI Mini 2: best tips to take amazing photos
10 reasons to stop posting on Instagram as a creator
Solo travel photography: 11 tips you have to know
Panning photography: how to take it and how to fake it (Photoshop)
10 differences between camera and smartphone photography: an ultimate list
How to get better at smartphone photography
7 tips for amazing cloudy sunset (and sunrise) photography

How to get started with drone photography: a step-by-step guide
My best 2020 images. Part II: Japan photography
My best 2020 images. Part I: Spain photography

How to set goals that will improve your photography [2021]
How to capture motion in photography
9 amateur photography mistakes and how to avoid them
How to improve your photography skills: 10 free tips

10 apps that will help you take better landscape photos
14 things you should know about Sunset Photography

Waterfall photography: all you need to know. Gear, settings, and tips
How to take amazing photos on a cloudy day
How to take amazing reflection photos: 10 tips you must know
Long exposure vs short exposure photography: things you need to know
Long exposure photography for beginners: an ultimate step-by-step guide
Sunrise vs Sunset photography: things you need to know