Learning how to take better photos isn’t a two-day journey. Instead, it is a long and intricate road, with lots of unexpected issues. However, the feeling of seeing how your photos have improved is worth all the time and effort. I had lots of fun preparing this article. In fact, I had to go through my old images, from my early times as a photographer and detect which were my most common mistakes. Seeing those old photos, made me realize how much I have evolved. These are 9 amateur photography mistakes and the ways to avoid them.
Most of the images featured here are from 3-4 years ago. By that time I had been taking photos for more than 10 years, although not paying attention to what I was doing. From the moment I started taking photos at a more serious level, it took me some time to start detecting the flaws in my photos. It wasn’t that the locations weren’t good enough, or that I needed better gear. Therefore, no matter your gear or photography opportunities, if you want to laugh at my old photos and check if you commit any of the listed mistakes, keep reading!
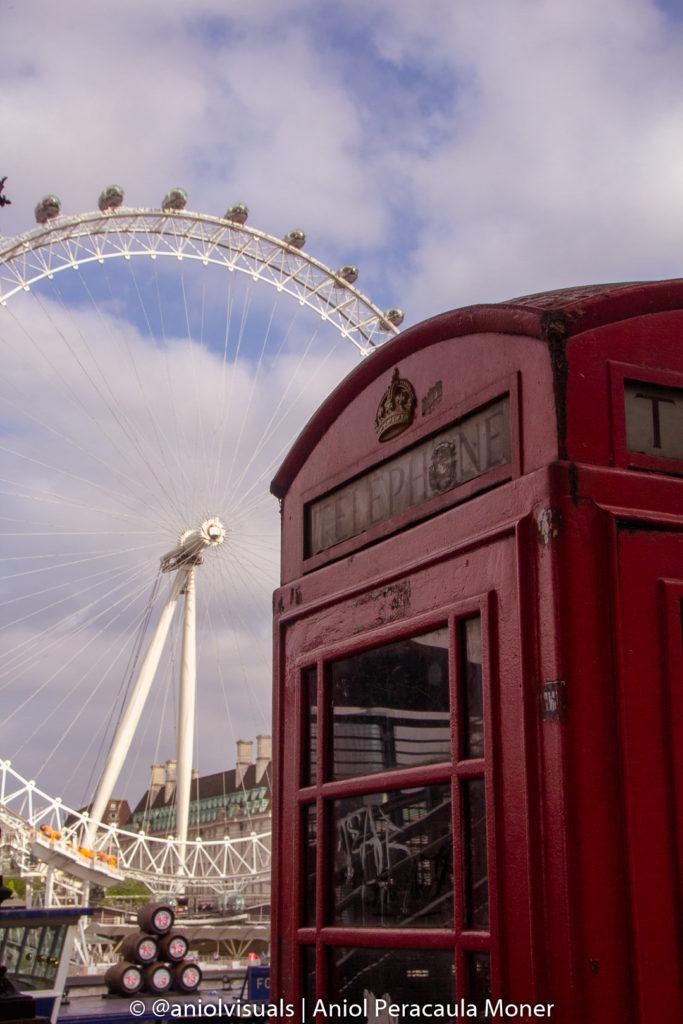
1 Excessive zooming
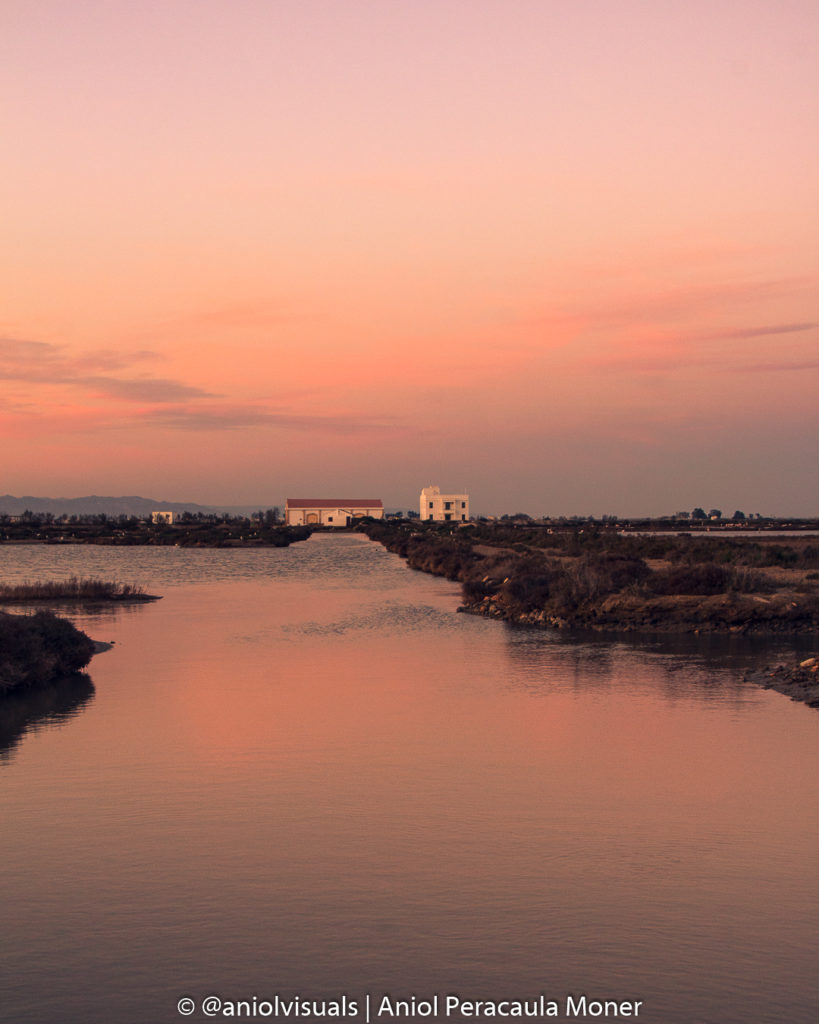
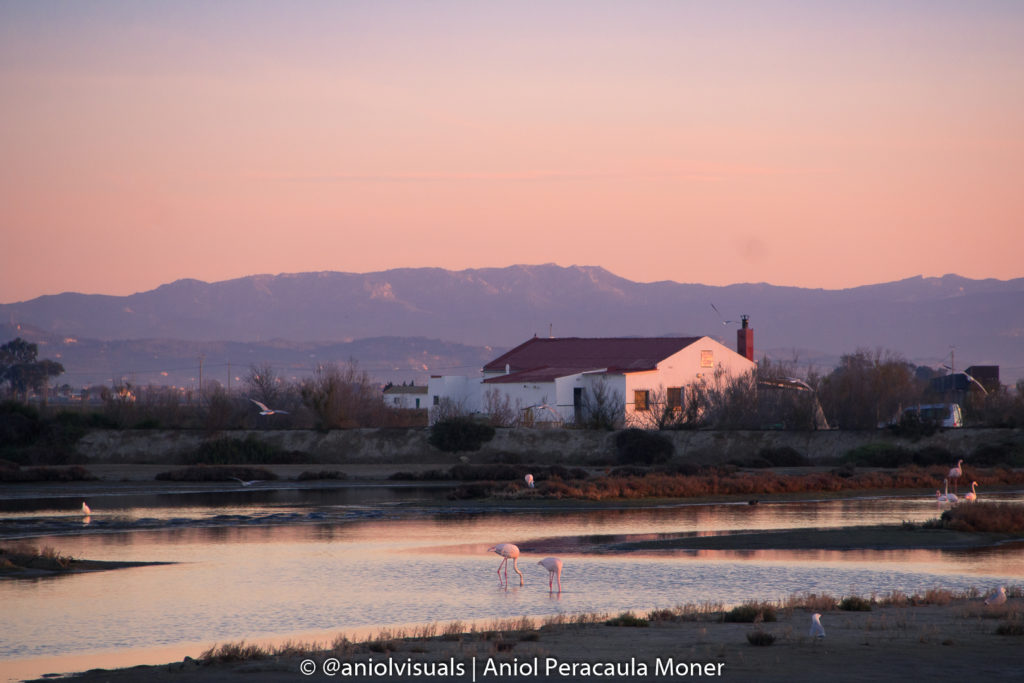
Back in my early days as an amateur photographer, I loved details. No matter where, I loved zooming in, and taking close shots of architectural details, flowers, or passerby. There is nothing wrong about taking close shots. There are plenty of details worth capturing that give a special touch to the place. However, there are limits and situations. Below there are two examples of a situation where zooming makes sense and adds value to the shot, and another situation that was clearly asking for a more general shot.
I used to believe that zooming made me different from others, that taking the general image made no sense as it was something everyone got just with their smartphones. It makes kind of sense, but I couldn’t be more wrong. Taking the general photo is what will give value to the details. If you can’t tell the story behind the hidden close-up photo you took, context is lost, and the photo is less powerful.
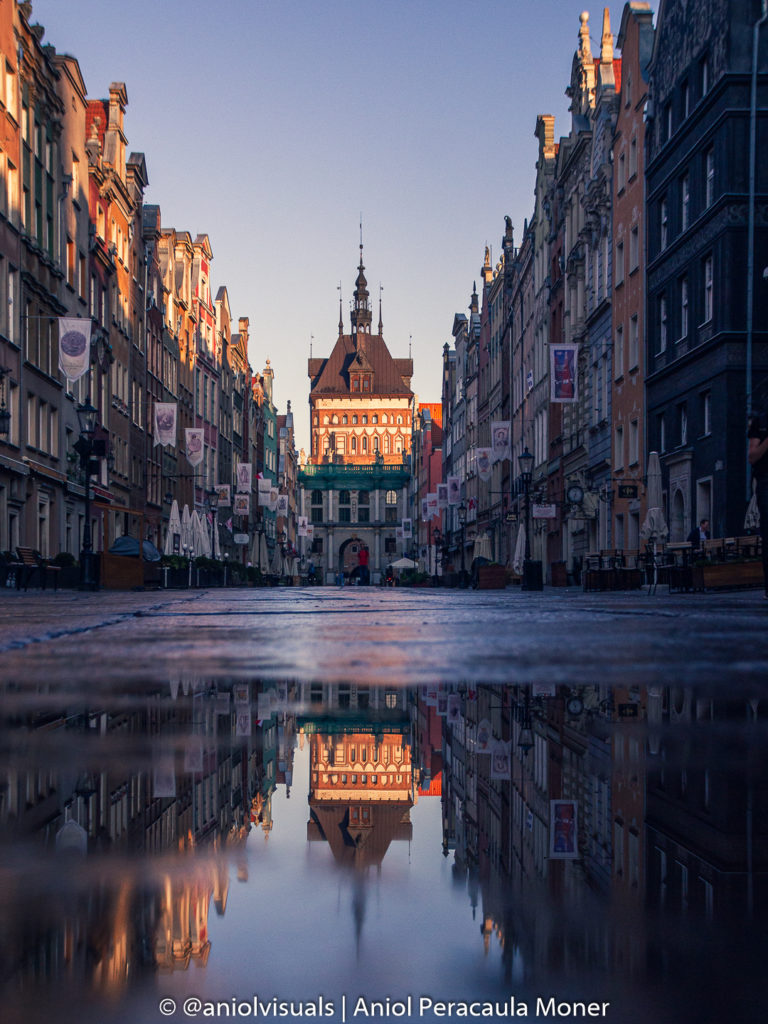
2 Forgetting about composition rules
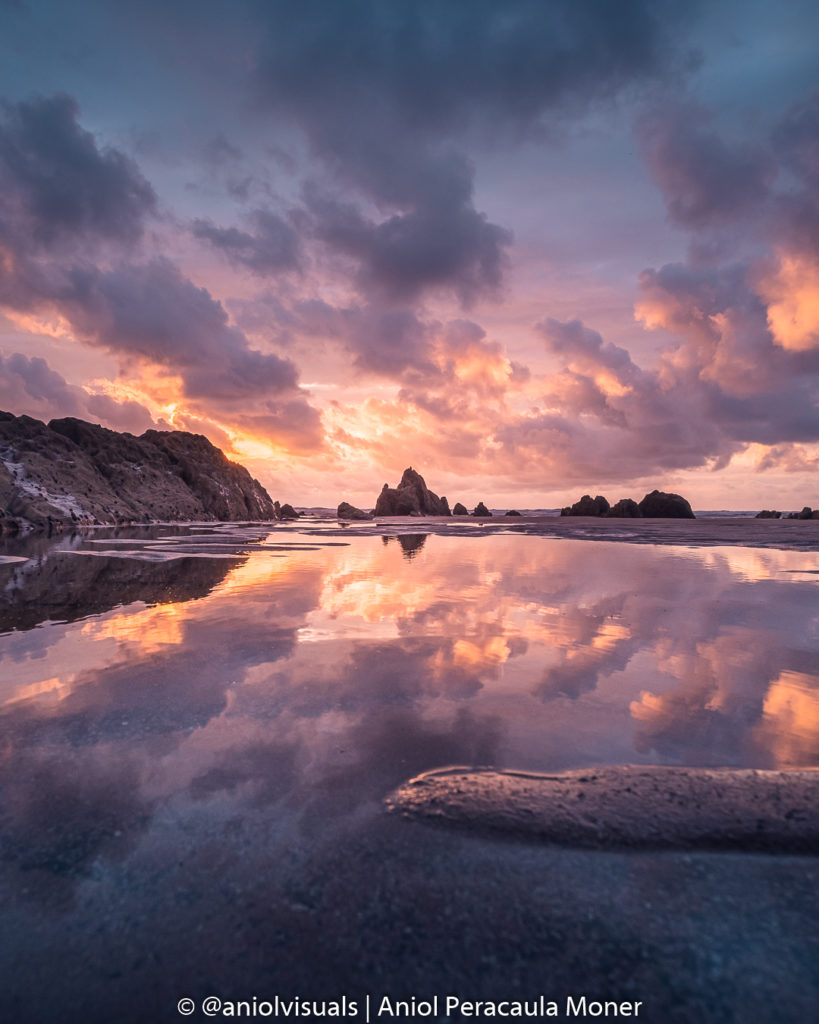
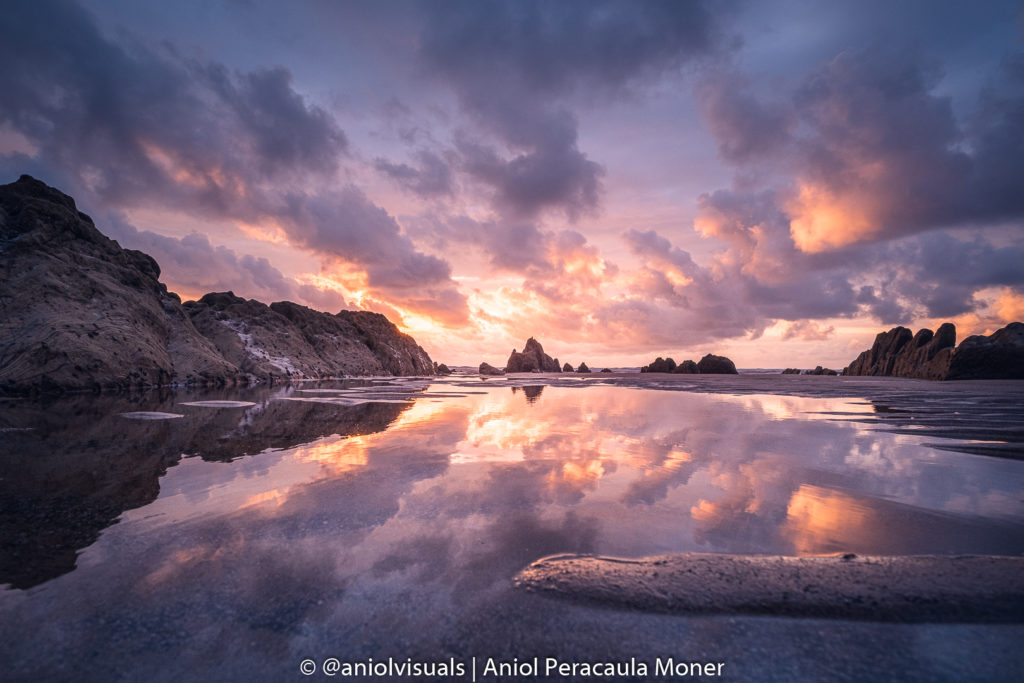
Rules are there to be broken, yes. But if you don’t know you are breaking one, there is something wrong about it. One of the amateur photography mistakes is forgetting about the rules. I am sure you have heard about the rule of thirds, how to position objects of interest into your images, and how to guide the viewer’s attention to the important parts of the photo.
Therefore, it is important to have the composition rules in mind before taking a photo. If you feel that using them you are missing some information, or that you are not capturing the scene like you would like, feel free to break them. Otherwise, stick to them. As you can see below, I used to forget a lot about how composition rules work. However, I also had them in mind sometimes. Both images were taken on the same trip. As you can see I occasionally forgot that the composition rules existed.
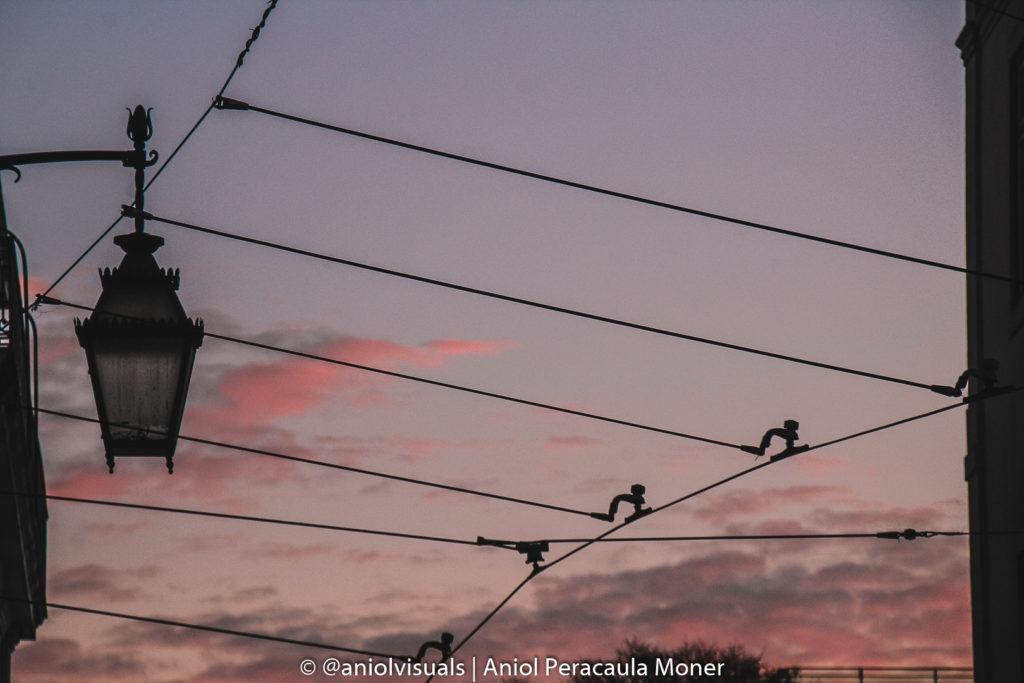
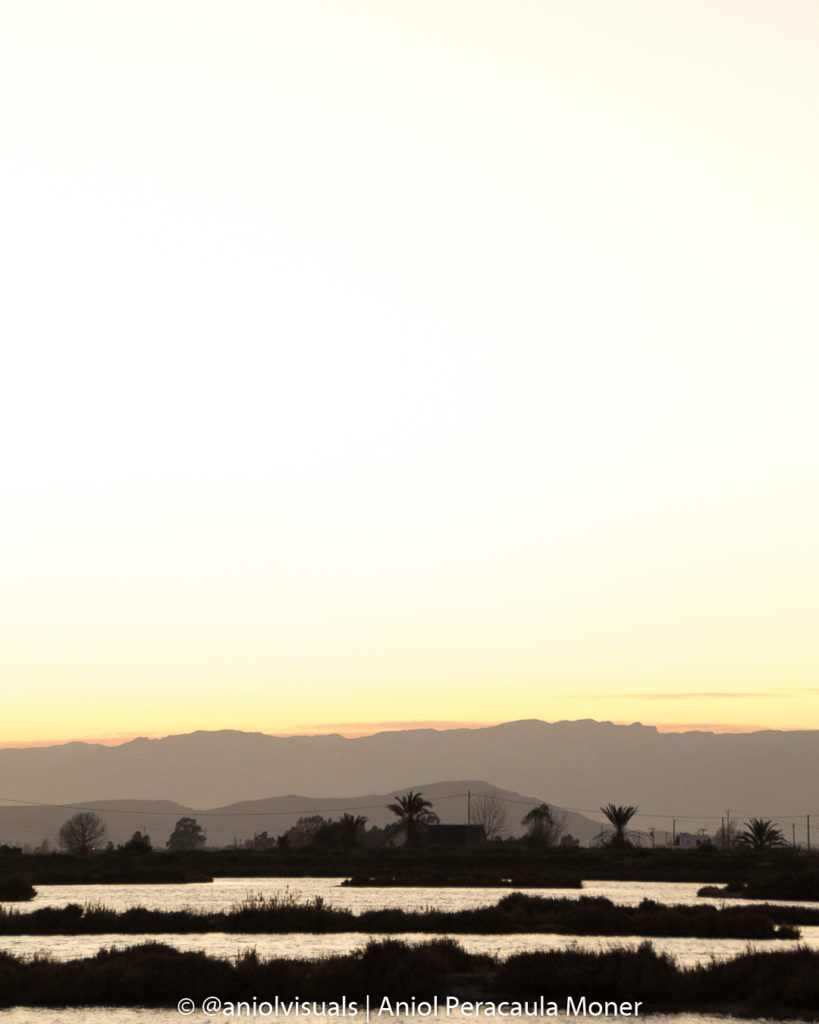
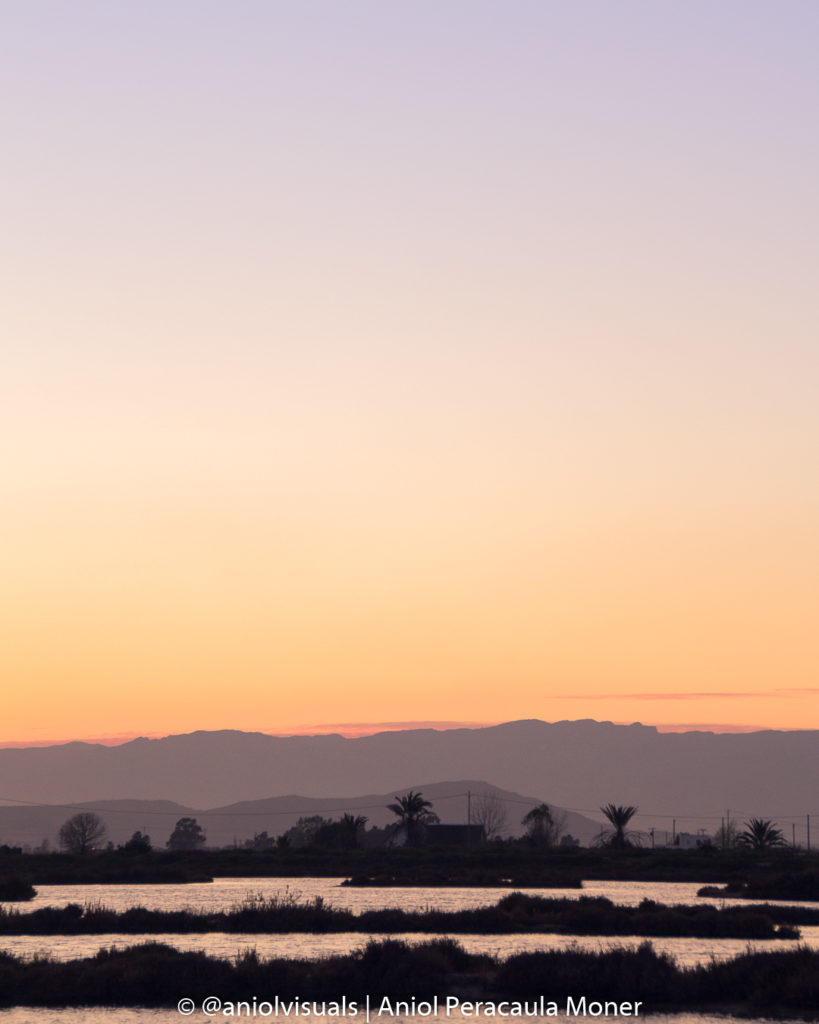
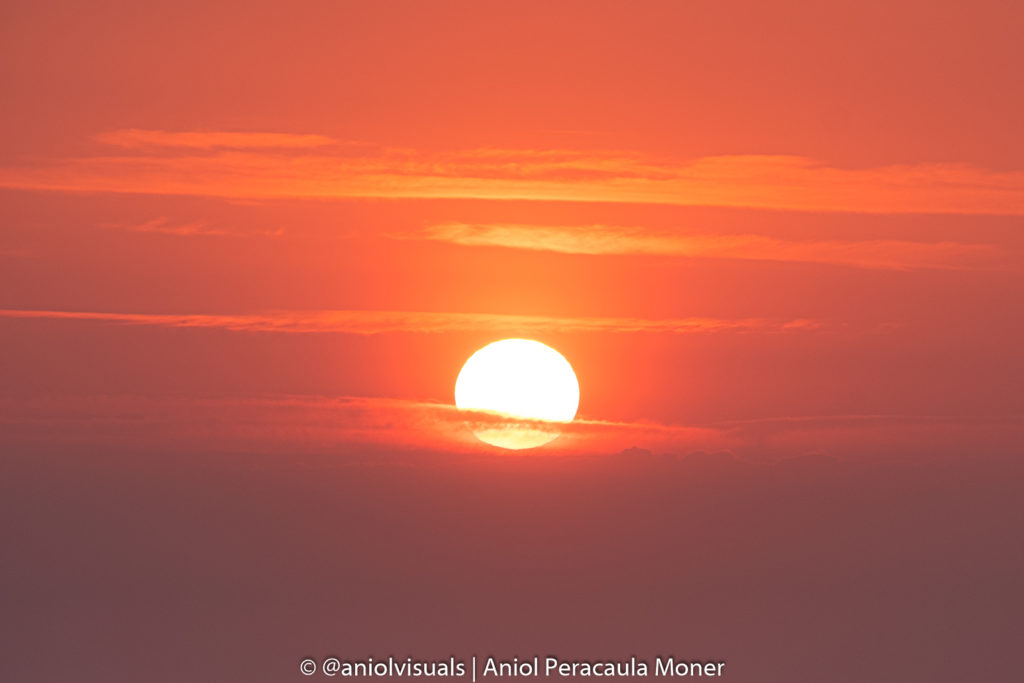
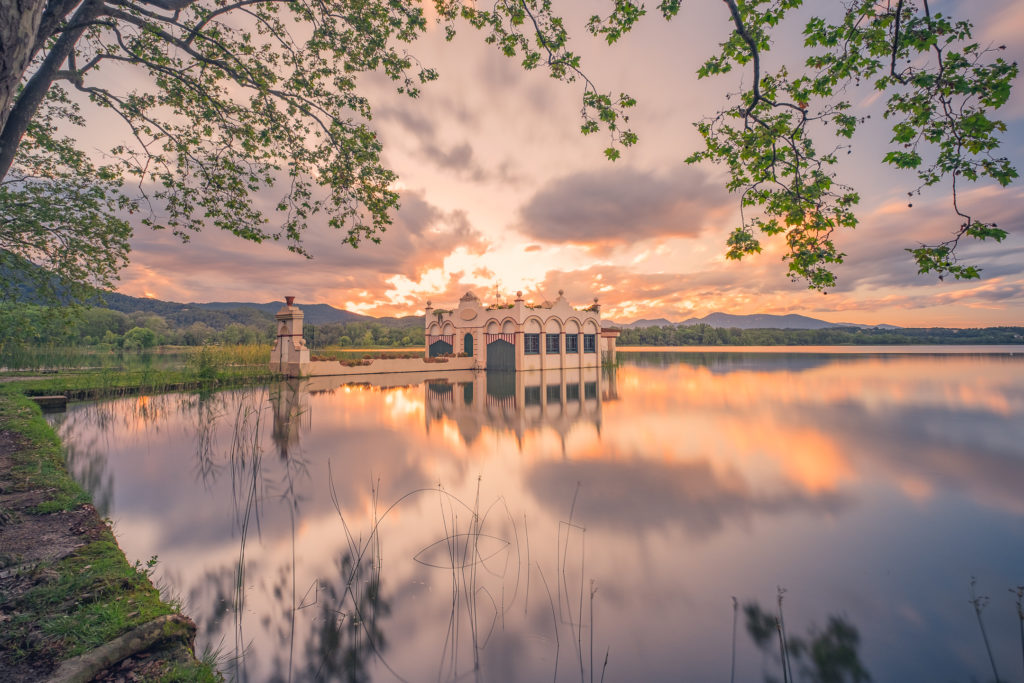
3 Overexposing your images
This has been one of the most important lessons I have learnt taking photos: never, never, never, overexpose your images. If you have to choose between a slightly dark image or a slightly bright image, choose the dark one, always. There is a simple reason behind this statement: you can’t recover the overexposed information in your images. However, there are ways to recover the information hidden in the black and shadows area. This is even more important if you are shooting raw, as even more information can be recovered from the shadows.
Imagine you are shooting during sunset, pointing your camera directly towards the horizon, where the sun is about to set. A very typical amateur photography mistake is to try to take a photo where the sun and the rest of the landscape are both well exposed. Unless you use bracketing, it’s almost impossible to get it. Below you can see an image I took recently. I knew I had to choose, either the sky or the foreground. If I had chosen to correctly expose the foreground, the sky would have been blown, making it impossible to edit the image afterwards. However, I choose to correctly expose the sky, knowing that it would be possible to recover the foreground information.
4 Shooting without thinking
Among the amateur photography mistakes, there are the ones committed mostly by impatient photographers. This is one of them. I tangentially mentioned this point in “my how to improve your photography skills guide”, but here it makes a lot of sense to develop it. On countless occasions, I saw a beautiful sunset, location, or scene, took my camera and started shooting without planning or thinking about what I was doing. In fact, this is very related to the “forgetting about the composition rules” item.
One of the reasons why I strongly encourage photographers to get to the locations with some time in advance is to scout the area, detect the best compositions, and be ready when it is time to take the photo. This does not only apply to landscape photography. Portraits, sports, travel and wildlife photography also require some planning. Stopping and thinking for around 5 minutes before starting the shooting will have 2 positive effects: your images will be better and you will take fewer photos, meaning less post-production effort will be needed.
5 Shooting only vertical
I blame you Instagram! The fact that vertical images are the most successful format in the most used image social media platform has enormous effects on how photographers work. This is especially noticeable in landscape photography. Everyone knows that the best way to take landscape photos (usually) is shooting horizontally. Unless the composition asks for it, I would go for a 16:9 photo 80% of the time. However, if I want to upload this photo to Instagram and get some exposure, the optimal size is 1080×1350.
These are the 2 solutions I use when I face this kind of situations:
Take 2 images. First the optimal one, the image that works best with the situation. Then, go for the Instagram-style image. I don’t really like shooting for Instagram, but it is the best way to promote one’s content. Therefore, it makes sense to spend some time thinking about the way to get this Instagram shot.
Focus on shooting horizontally and crop later. In some situations where light is key, or once in a lifetime events (wildlife, sports,…), I don’t even think about the Instagram shot. I shot horizontally, and afterwards, through my editing software, I find the way to share the image on Instagram, cropping it.
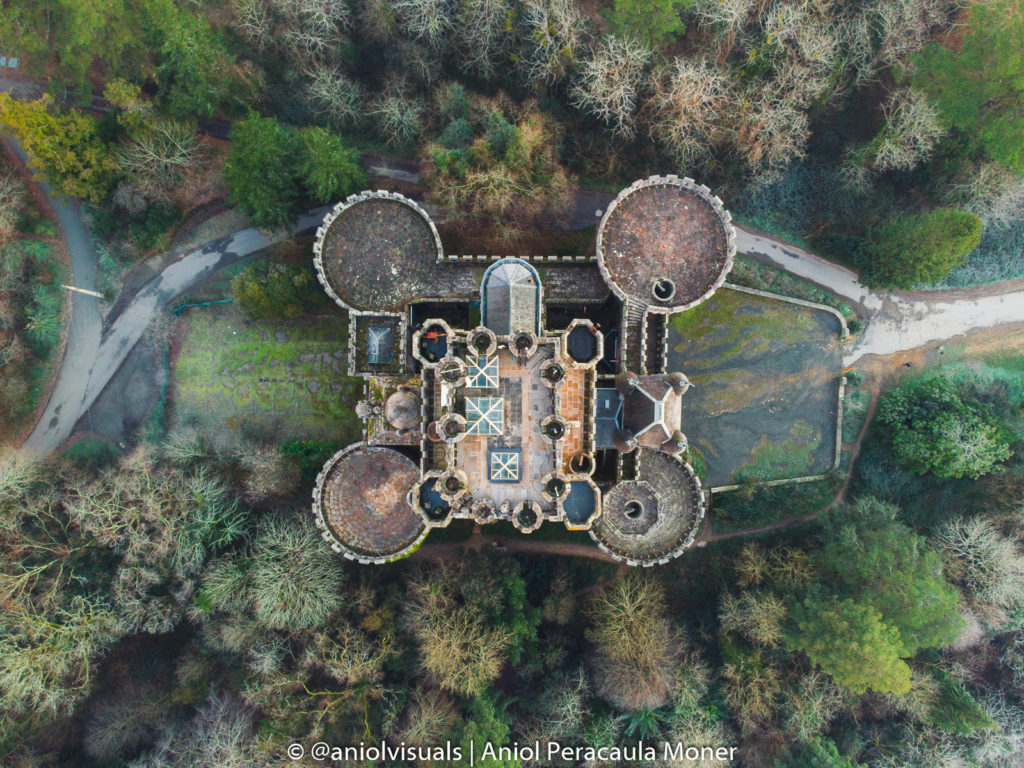
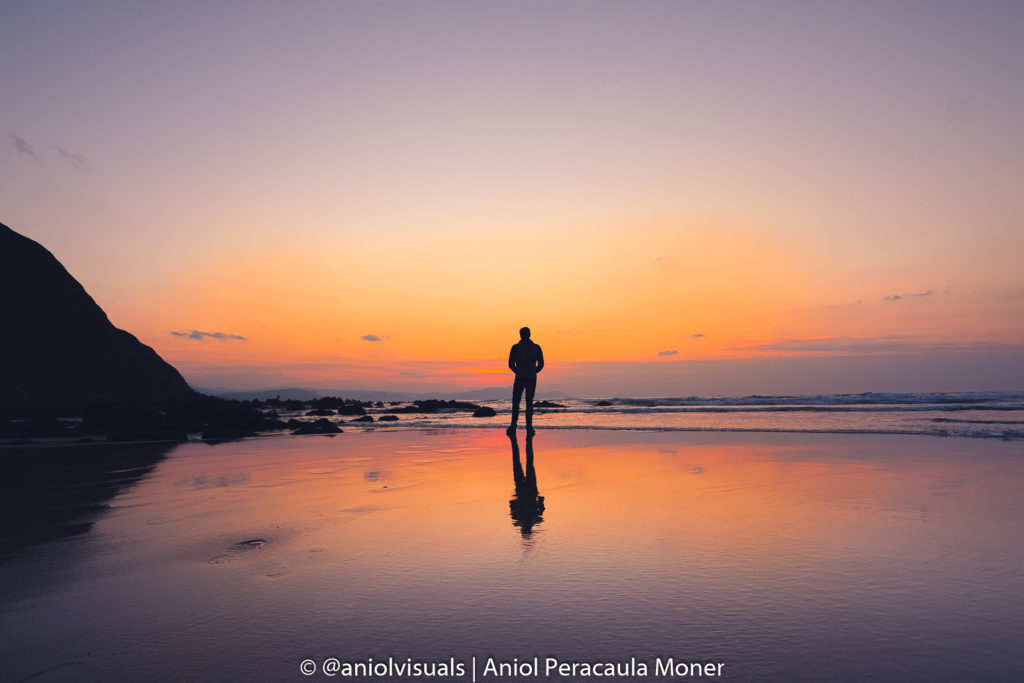
6 Taking photos on a standing position
I remember an old meme about weird photographer positions, and it was hilarious because some of them were so exaggerated. However, during my first years as a photographer, I did not understand how important it was to explore other angles. Drone images are very powerful because they help us see the world from a different point of view. Relatively speaking, changing our position in relation to the object of interest can make the difference. Getting closer to the floor helps to create some very interesting effects, and raising our camera can give us a pitch angle view that adds something special to the image.
7 Focus on a single image
Another of the common mistakes in amateur photography. Have you ever found yourself trying to take a photo and not getting the expected result? Unless you are a genious, the answer will be yes. That is fine and completely normal. What is not that normal is that once you realize it is not possible to take this image you spend the next hours trying to get it. Maybe you are missing some gear, or the conditions are not the right ones.
On such situations, I recommend shutting off your camera, walking a bit, and trying a new location. Even in the most unexpected locations, there is more than one possible image. Try another angle, another composition, different settings… there is no need to spend lots of time working on something impossible. Don’t forget that taking photos should be a challenging but rewarding experience. I remember getting home after one of those frustrating sessions, looking at my photos and thinking: just next to this location there was this amazing place that I did not explore because I was too focused on a single shot.
8 Rely too much on the edition
Editing software helps a lot. I consider the edition process almost as important as the process of taking the photo. However, unless you are specialized on composing photos through edition (mixing images, chaning light,… hard photoshop skills), try to get the best possible image just using your camera.
It is very easy to think: it’s okay, I’ll solve this afterwards back at home. Sometimes, though, it is quite easy to solve it in-location. Maybe just changing one’s position, or adding a filter, changing lenses… Of course, you can modify the image using software, and it is totally accepted (I edit a lot my images), but to get the best possible result, if something is already present on the image, it helps a lot.
9 Overedit your images
Every amateur photographer has committed this mistake. When one discovers Lightroom or any similar image editing software, the immediate reaction tends to be: full vibrance, full saturation, lots of contrast. This creates a fake image. There is nothing wrong with creating images that don’t reflect reality. I think that images should reflect what photographers see and feel, not what the camera captures.
However, a photographer has to know when he or she is going too far with edition. Overediting your photos mean not realising that you want too far. It takes a lot of time to create a personal editing style, and buying presets from other photographers does not help in this process. It will require a lot of overedited images to find the balance you feel comfortable with, but being aware of it is the first step!


Conclusion
Those are the amateur photography mistakes I commited (and sometimes still commit) during many years. Fortunately, once you see them, you can’t unsee them. Whenever I see my old images, I am amazed by how weird some of the images look and feel due to the existance of some of the mistakes listed.
If you liked my amateur photography mistakes and how to avoid them article, consider following me on Instagram for more photography tips, and travel guides! Thank you for making it this far. Here you have some other articles you might be interested in.
Drone photography with a DJI Mini 2: best tips to take amazing photos
10 reasons to stop posting on Instagram as a creator
Solo travel photography: 11 tips you have to know
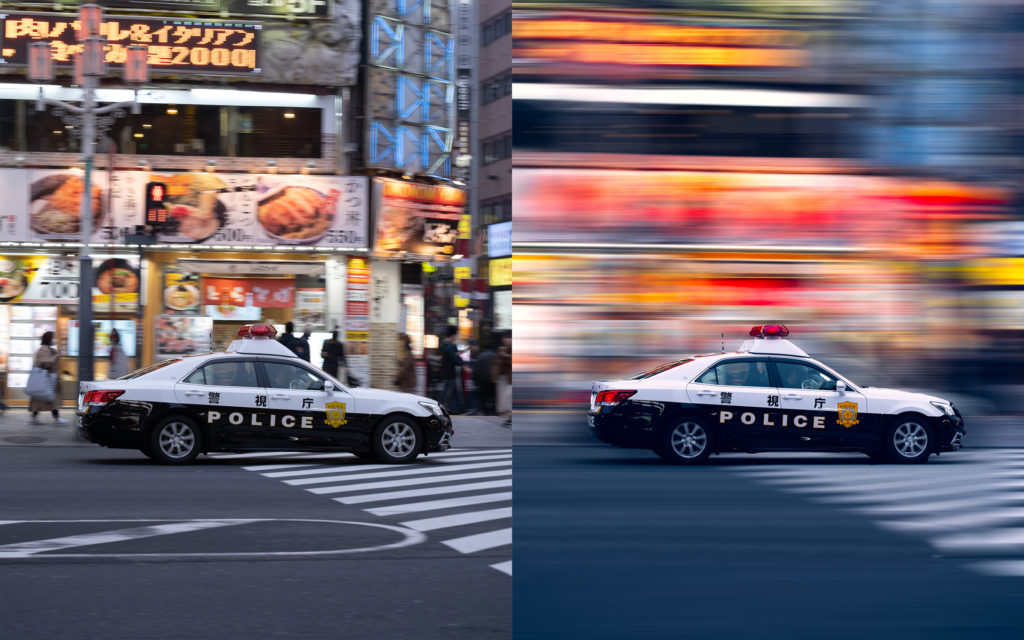
Panning photography: how to take it and how to fake it (Photoshop)
10 differences between camera and smartphone photography: an ultimate list

How to get better at smartphone photography
7 tips for amazing cloudy sunset (and sunrise) photography

How to get started with drone photography: a step-by-step guide
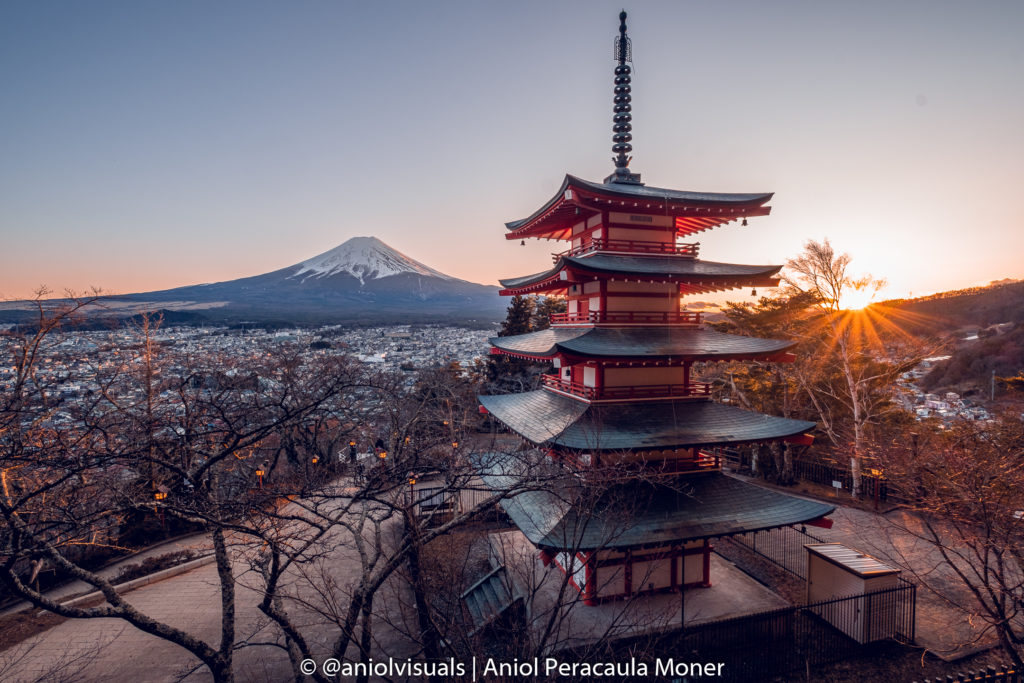
My best 2020 images. Part II: Japan photography
My best 2020 images. Part I: Spain photography

How to set goals that will improve your photography [2021]
How to capture motion in photography