One of the best times of the day to take photos is during the blue hour and the golden hour. This conditions can only be found twice during the day, one at sunrise, and one at sunset. During the last years, I have done countless sunset photography missions, and I have learnt some interesting lessons that I will share in this article. If you want to upgrade your sunset photography skills, keep reading!
Although the items are not listed in order of importance, I tried to add the simplest and more well-known ones at the beginning of the article. The reason for doing it this way is simple. It is the way I learnt it. You first learn simple things about photography. Once you start getting to a level of expertise, you start noticing things that were hidden. I am sure I still have a lot to learn, and I am looking forward to all the lessons that the next years, locations and experiences will teach me. Without further delay, these are the 14 things you must know about sunset photography.
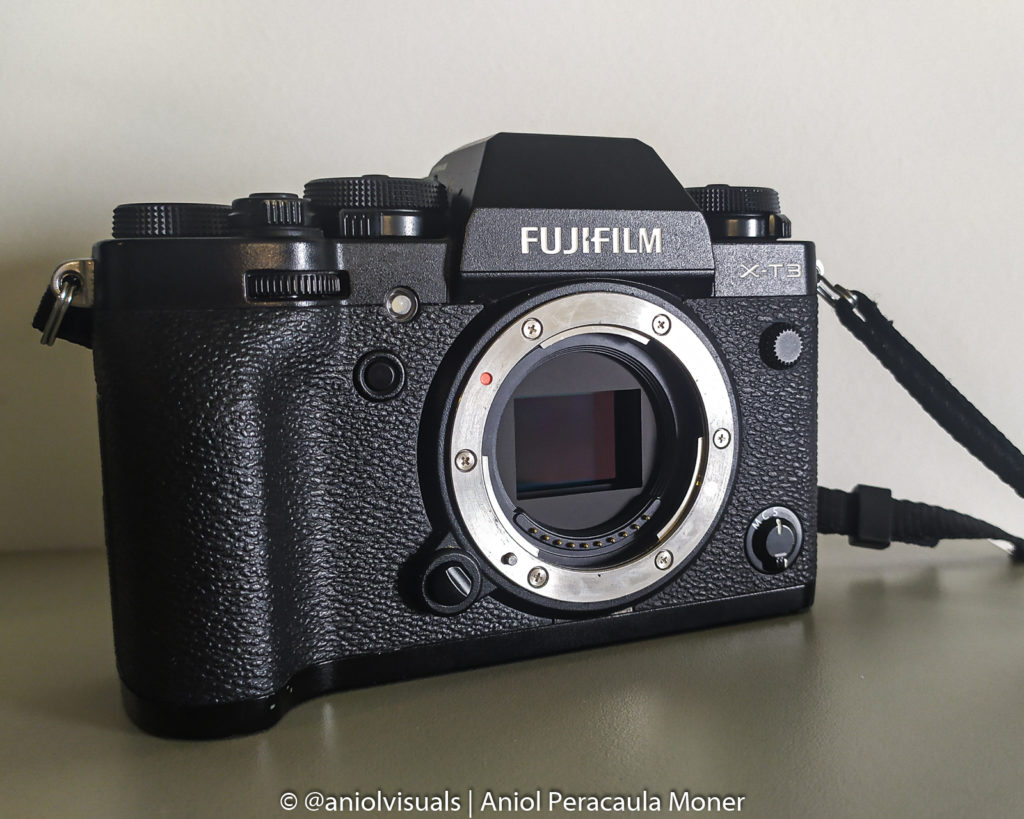
1 Gear matters
One of the worst ways to learn something is when you see a photo, but you can’t take it. Imagine you are at a beautiful location, there are some high clouds in the sky, and the sun has just set on the horizon. But you don’t have a tripod or the perfect lenses for those conditions, or the filters to get the long exposure shot. Well, this is because in sunset photography, gear matters.
It is not the same to take photos at a 2h drive from your place than to take a plane to the other side of the planet, and the gear has to be carried and paid for, but try to bring everything you might need for each situation. Unfortunately, the best way to learn this is by not having any of the essential gear you need.
2 Travel light
This might seem contradictory. And it is. But one of the most annoying memories I have is carrying tons of gear than then I did not use. Try to find a balance between carrying all the gear you need (highly recommended), and packing extra gear. We are talking about sunset photography. It might involve climbing, hiking,… and in these situations, not bringing extra weight is essential.
3 Look at the weather forecast
All sunrises are different. I will talk in the following points about the clouds, and how sometimes bad weather is preferred when taking photos. However, it is important to know what to expect. Will it be raining? Will it be sunny? Or will some clouds make the scene magical and unique? Weather forecast is not only useful to decide what to pack but where to go.
4 Bring extra batteries
Sunsets algid moment can last for less than 2 minutes. And you want to capture the most out of those 2 minutes. Therefore, bring extra batteries, and make sure that when you start shooting, you are not using a half-empty battery. Some of the techniques used in sunset shootings, such as long exposure photography, drain your batteries very fast. Just make sure that your batteries will last for the whole sunset. Otherwise, bring extra ones, and choose wisely when to replace them.
5 Look for inspiration
Try to find what others did in the same location. Not to copy them, but to see what are the possibilities. We all like to take different images, to get that angle that no one has seen before, but nowadays with all the social media, it is difficult to find new views. However, doing some scouting and learning a bit about the location online might help come up with some ideas beforehand. Once you get to the location, it is time to test them.
There is something that I do continuously, and it is reaching out to other photographers. When you find an image you like, ask the photographer about the location, or what tips, difficulties, he or she faced when taking the photo. Locals always have useful pieces of advice that can save you time, effort and most importantly, going back home without a good image.
6 Not all sunsets are amazing
This is a difficult one to accept. You can scout all you want, to the detail. You can have the exact coordinates where you want to take the photo. But you can’t control the sunset you will get. If the location is close to where you live, or if you have the chance to revisit it (more on this later), you are lucky. However, sometimes it is not possible to revisit a location, and you have to do your best with what you have.
This one was hard to learn. I was in Japan, ready for an amazing sunset by the Mount Fuji. I got a dull sky, no clouds, no light, super fast sunset. Yet, I did my best and got some of the images I like the most from my Japan trip.


7 Revisit locations
One time is not enough. Not even if you got the image you were looking for. Locations change, and your style also changes. With landscape photography, revisiting locations is a must, for obvious reasons (see Seasons matter). However, even in street photography, wildlife,… things change. People are not the same, the patterns that once were common now are gone,…
I enjoy revisiting locations because it makes me aware of all the things I missed on my first visit there. Moreover, you already know how the place looks like, and it makes it easier to get there and move into the area.
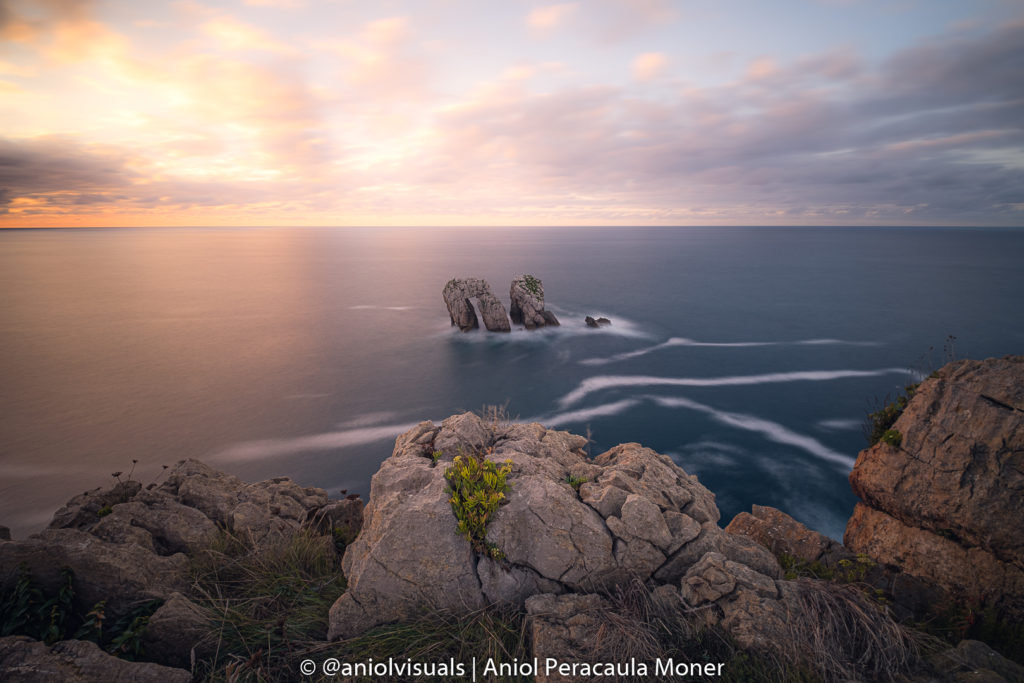
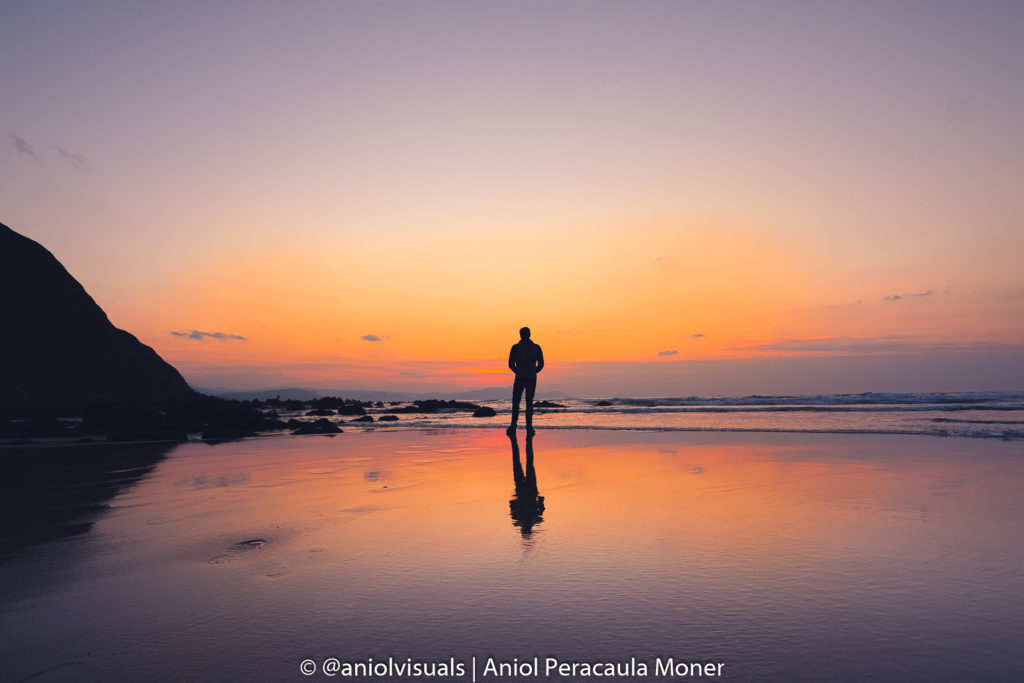
8 Avoid clear skies
I prefer an overcast day to a cloudless day. Oh, also in photography. Nothing good comes when the sky is clear. Clouds are what make the sunsets special. They, illuminated by the sun, get the reddish, orange and yellow colours that make the difference. Without clouds, there is part of the image that has no special interest. Of course, it is possible to take good photos on a cloudless day. It requires focusing a lot on composition, trying to get a very interesting foreground. In other words, the image has to be good enough to help the viewer forget that the sky is boring.
Go out, even if there are no clouds, because it will help develop new composition skills, or see a location from a different point of view. Yet, know this, there is nothing more boring in sunset photography that a cloudless day.
9 Seasons matter
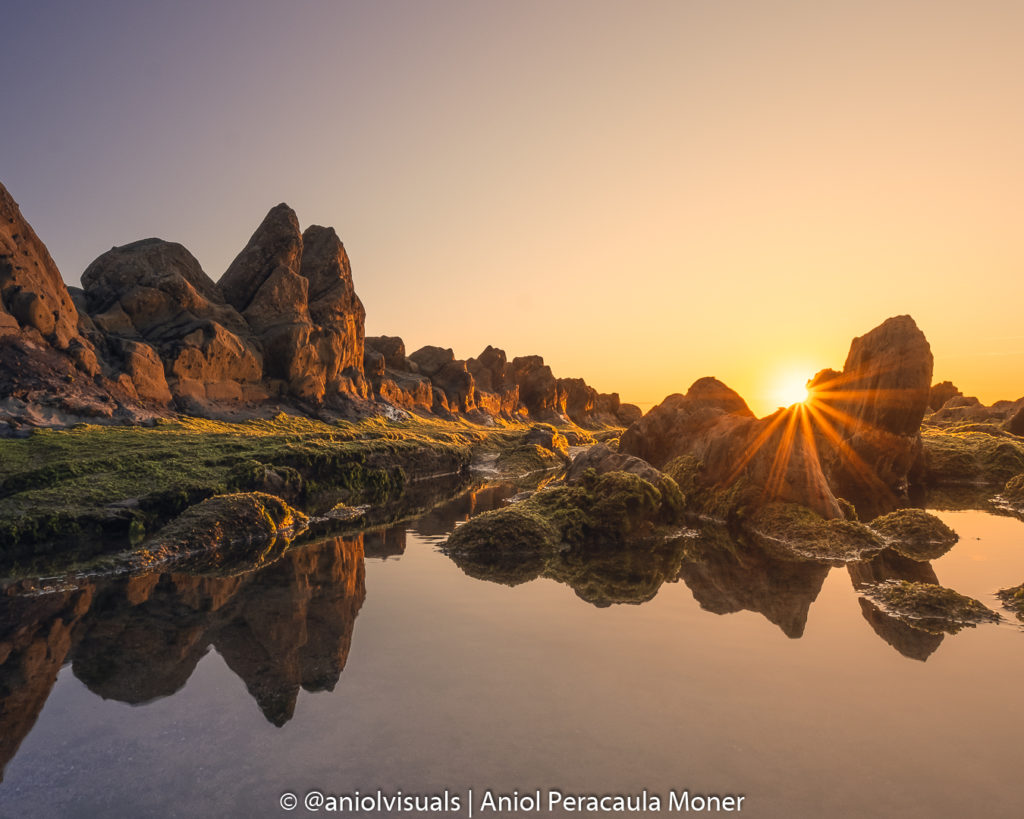
This is something that can be applied to almost every type of photography. When it comes to landscape and sunset, it is not the same to shot during summer than during autumn. Imagine a beach, a beautiful beach, with rocky formations, and perfectly oriented for sunset. If you visit this beach in August, you will find it crowded, with people swimming, sunbathing and making it impossible to take photos. Imagine the same location in October. Alone with your tripod, maybe some people jogging, walking or fishing. Better right?
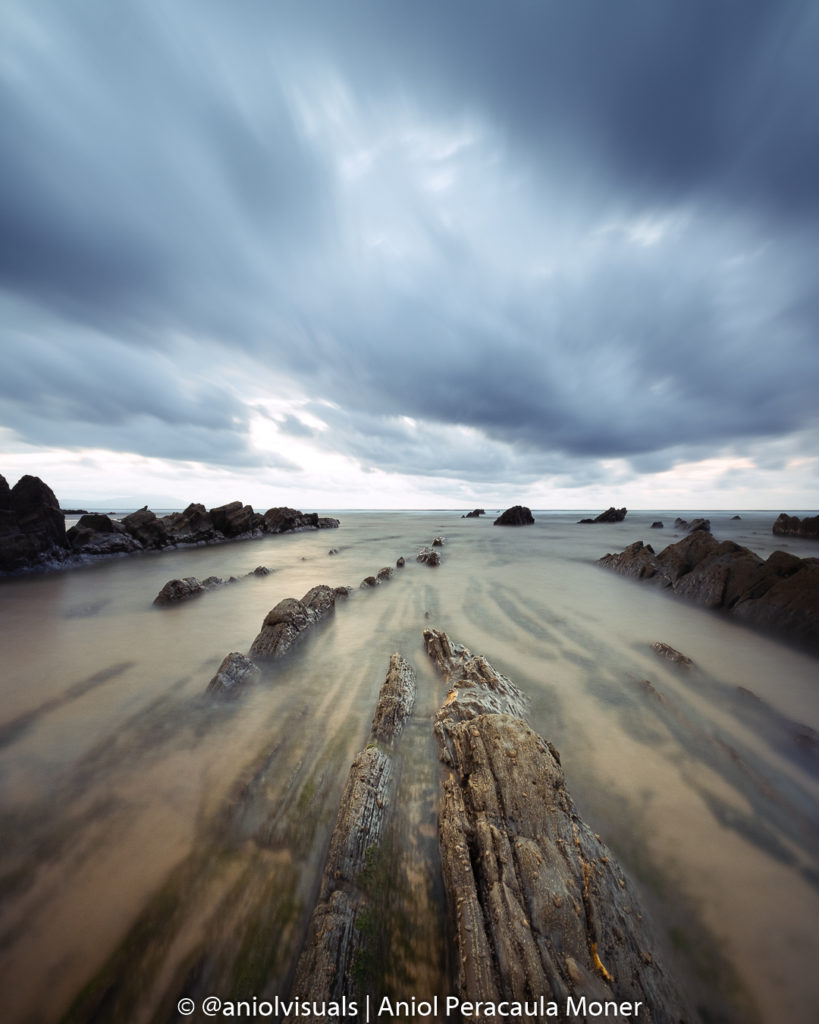
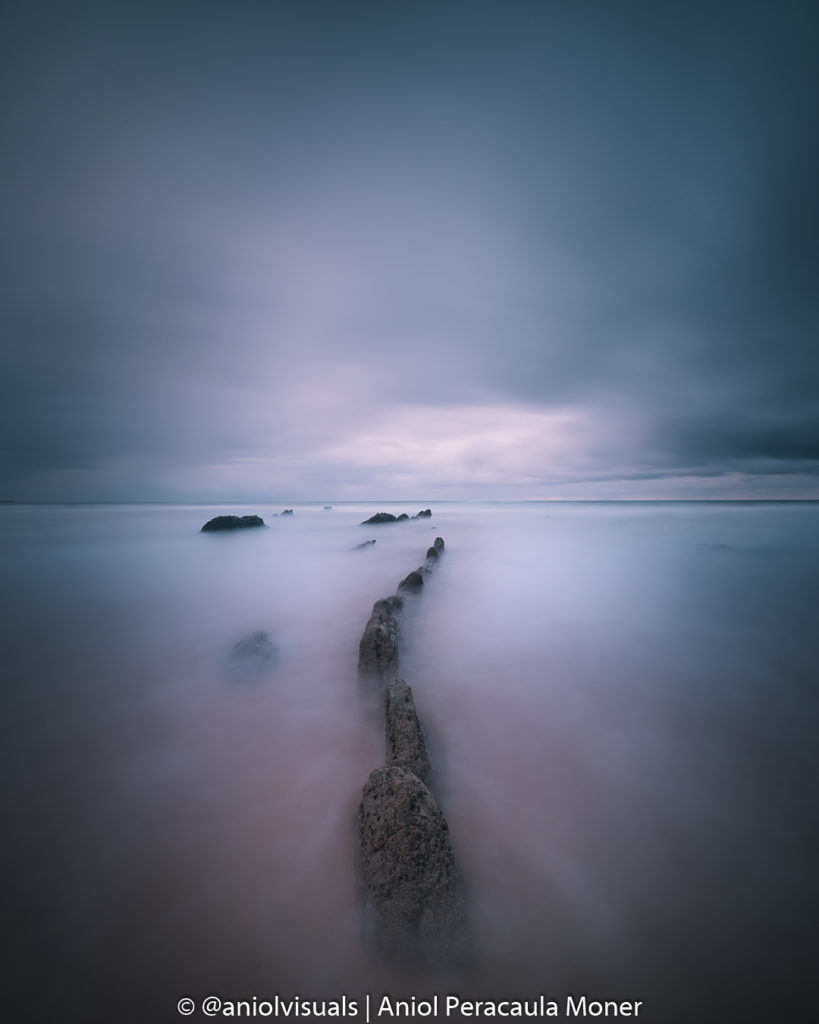
Not only the number of people change. Imagine the same beach. During storms, sand can be added or removed due to the waves. Thus, the landscape can change completely. Not to mention forests, lakes, waterfalls… Seasons matter. Of course, this is very linked to the revisit locations point. The 2 images below are from very close points in Barrika, Basque Country. Depending on the season, there is more or less sand on the beach, due to storms, tides,…
10 Shoot less
A very wise friend of mine once told me that amateur photographers take thousands of photos, average photographers take hundreds and good photographers take 10. It makes sense. I remember when I was younger, and I got my first reflex. I would shoot in burst mode, taking 4 or 5 photos from every angle I deemed adequate to capture.
A couple of years later, with the same camera, everything changed. I observed way more, and shoot way less. Surprisingly (or not), the quality of my work rocketed. First, observe, then plan, finally, shoot.
11 No all locations are good for sunsets
Yes, this is annoying, but also true. there are some places that are not good for sunsets. Some of them are pretty obvious, like forests. By forests, I mean deep forests, not drone-like forest shots, but taking photos inside a forest. The only positive thing of doing it at sunset is that maybe some beams of light might illuminate the scene, but it is quite difficult to predict.
There are other locations that are not ideal for sunset photography. Most of them have the same problematic, there are some elements that do not fit well with the sunset light. In those cases, one of the easiest solutions is to try sunrise instead of sunset photography. Changing the direction and position of the light source usually works wonders. Other solutions might involve night photography, or trying to shot on specific weather conditions (such as cloudy days).
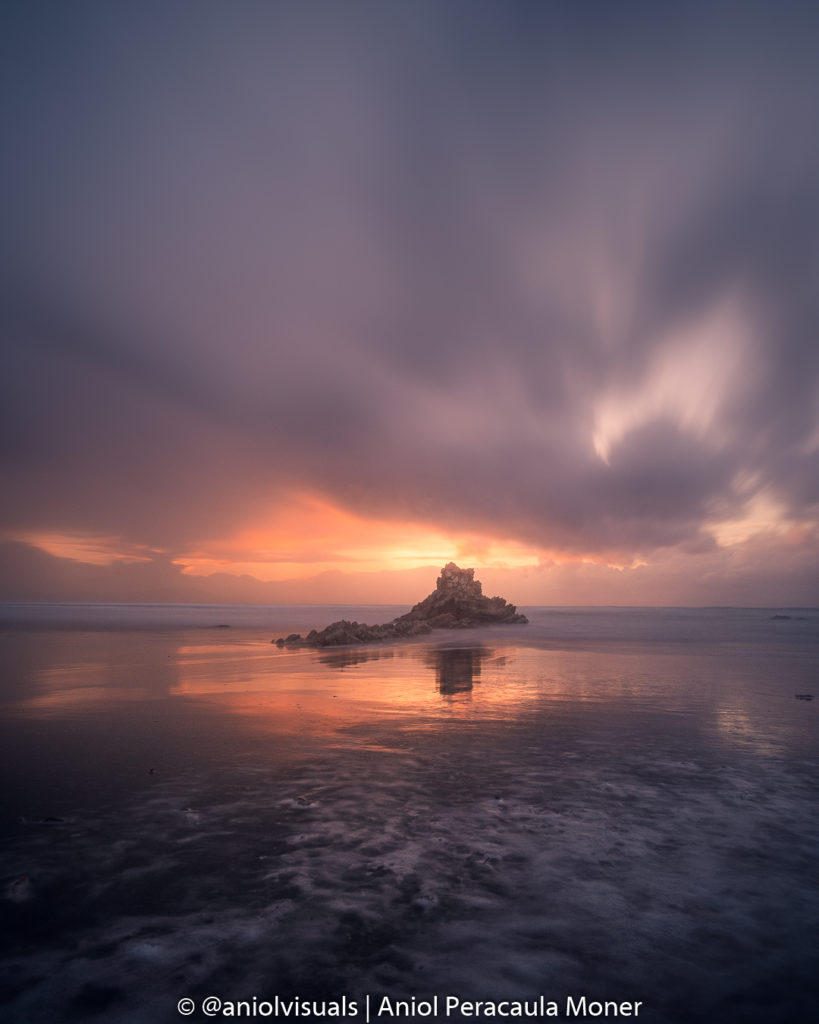
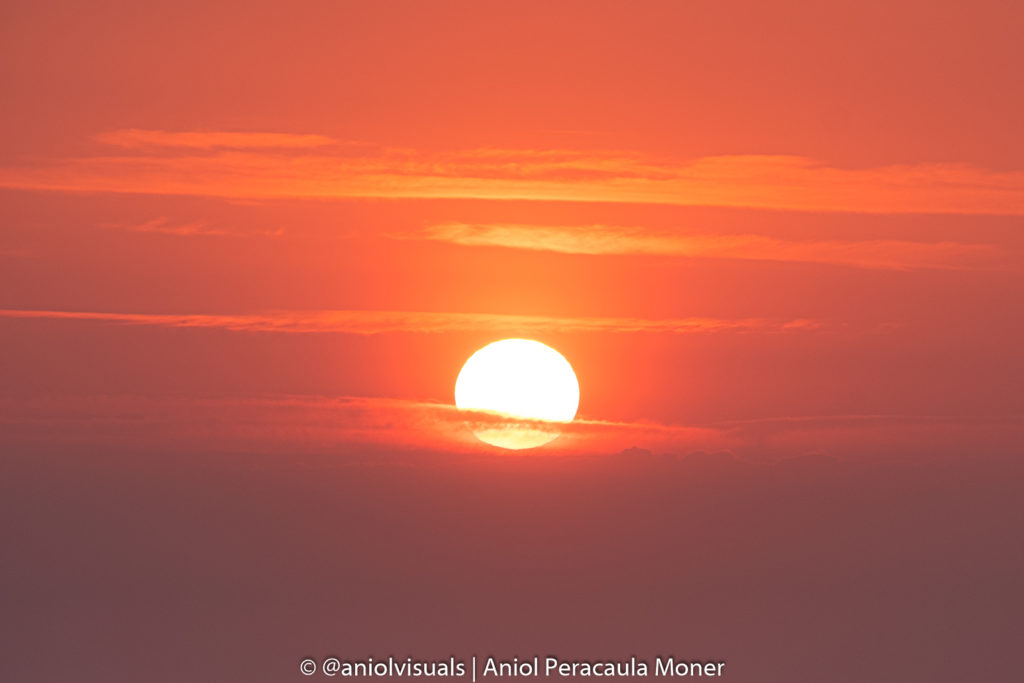
12 Wait until blue hour
When I go out and I see fellow photographers leaving the scene just when the sun crosses the horizon, I feel bad for them. The sunset might have been dull, or boring. However, the blue hour is ALWAYS amazing. No matter the weather conditions (even if it is raining), there will be a short period of time when the sky will take a bluish tone, perfect for photography.
Most photography apps provide the information of when the blue hour starts and ends, but even if you don’t have them, just wait. Once the sunsets and the last beams of light are gone, the blue hour will begin. In fact, the blue hour is essential for night photography, but this is not related to sunset photography, so I will keep it for another post
13 Get there early
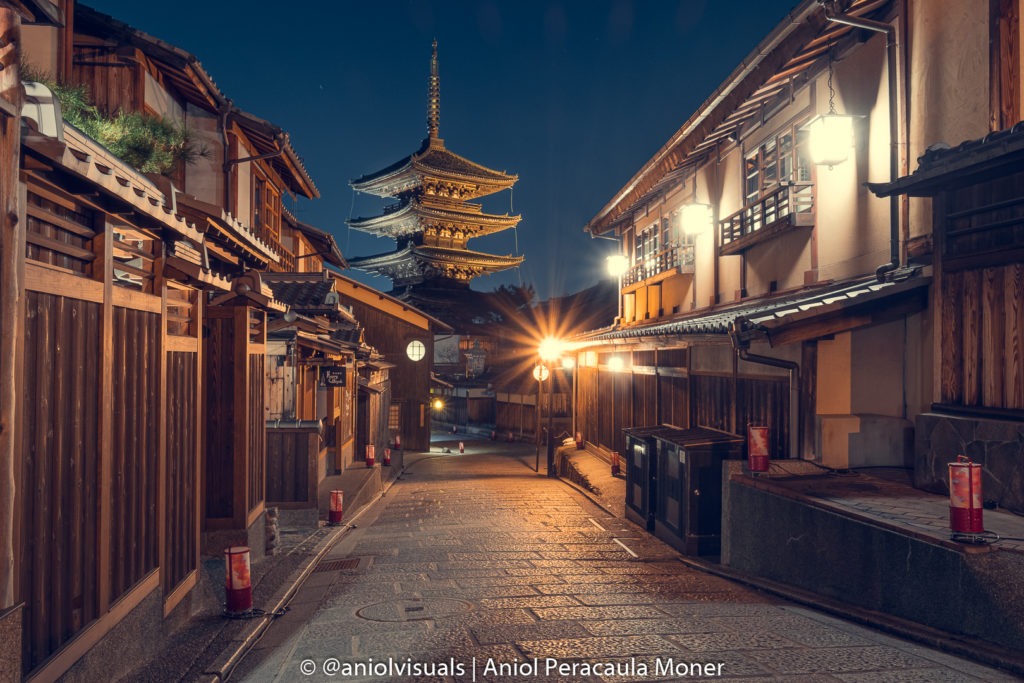
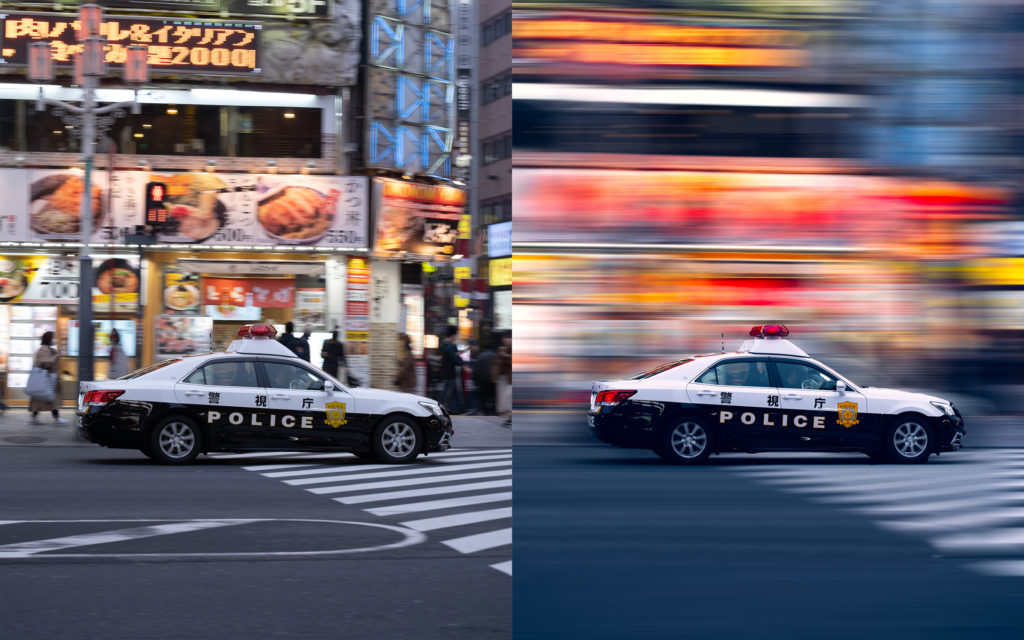
If the golden hour starts at 7 pm, I will be there at 6 pm. It doesn’t matter if I know the location, or if it is my first time. This isn’t about knowing the location, it is about getting ready. Moreover, there are places where you won’t be the only one shooting. Take as an example the image below. It is taken in a very tiny bridge in Tokyo. I got there 1 hour before sunset, and there was already a man there. At sunset, there were around 12 photographers, and only 4 or 5 could get the good shot, because the bridge is short, and only from the centre it is possible to take this image. In summary, no matter where or when better be 20 minutes early than 1 minute late.
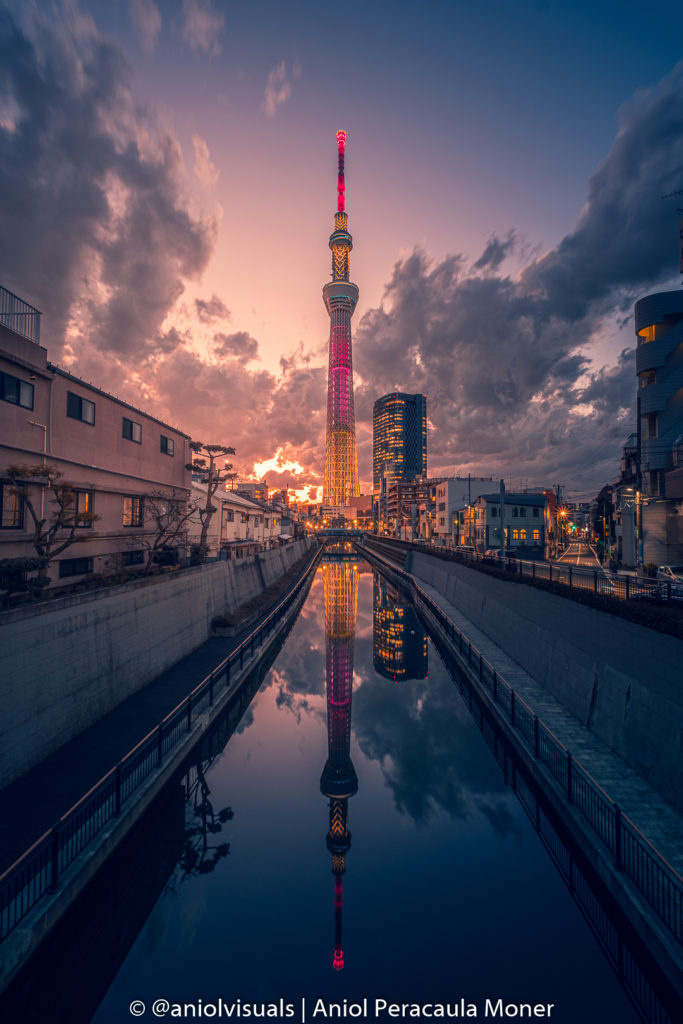
If you want to see more of my work in Japan, check the link below or find them at www.aniolvisuals.com/japan
14 Learn about clouds and meteo
I am not a meteorologist, but taking photos made me learn quite a bit about clouds, maps and radars. This is not only a will it rain or not matter. It is what type of clouds, wind, and other conditions you will find. There are some quite useful apps to do this, although I prefer to use weather radars, as they usually give more complex (and more difficult to read) information.
Depending on your area, there will be different websites or sources of information. As in most of the points before, it is important to get this information to plan accurately the sunset mission. Imagine you see strong winds prediction. well, maybe it means it isn’t the best day for some quiet tripod photography. Knowing what to expect is key.
Conclusion
Shooting on sunset is amazing. Everything looks different when the day dies, and the night begins. To make the most out of it, yet, it is necessary to take some things into account. I hope you enjoyed my sunset photography guide. If you have any other tips, share them in the comments below, I would love to learn from other people’s experiences!
If you want to follow my sunset missions, my trips and see my latest images, follow my Instagram or Facebook page. And If you want to use any of my images, please reach out at aniolvisuals@gmail.com or through my contact form.
Drone photography with a DJI Mini 2: best tips to take amazing photos
10 reasons to stop posting on Instagram as a creator
Solo travel photography: 11 tips you have to know
Panning photography: how to take it and how to fake it (Photoshop)
10 differences between camera and smartphone photography: an ultimate list