Discover how to get your smartphone photography to the next level! (no matter your smartphone)
It is no secret that smartphones have changed how photos are taken. Nowadays almost everyone carries a camera with themselves, making it easier than ever to take photos. Thus, when we go on a trip, or when we find beautiful scenery, it is more and more common to take photos using smartphones. As a photographer, I am aware of the limits of any smartphone, but also of the benefits that they have compared to large DSLR or mirrorless cameras.
Its size, portability, ease of use… no camera can compare to the point & shoot feel of smartphones. However, taking good photos with a smartphone is not as easy as taking the camera and shooting at the scene. These are 15 tips to get better at smartphone photography.
Smartphone photography settings
Picture quality
Check your smartphone settings and make sure to shoot at the highest possible quality. The resulting image will be larger (it will take more space in your smartphone memory), but it will also have more detail.
It is very common to find images that look amazing on the smartphone screen, and when transferred to a device with a bigger screen, find it pixeled, or not sharp. As with normal photography, the better the “raw” material, the easier it will be to get a good final image, if it is edited, cropped…
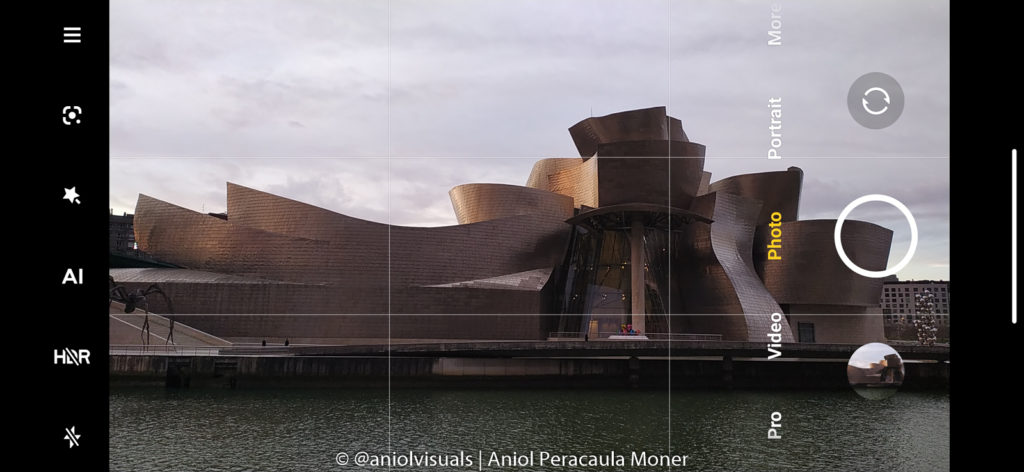
Use photography gridlines
There are many rules in photography. Leading lines, Fibonacci, vanishing point, golden triangles… but the easiest one to implement in mobile photography is the rule of thirds. All smartphones have the possibility to show a set of lines on the screen, two vertical and two horizontal creating a grid. These lines are useful for composing photos (see the “use rule of thirds” tip), but make sure to activate them before taking any photo.
Shoot in raw (if possible)
Some of the latest smartphones have the possibility to shoot in raw. The raw format is characterized for keeping way more detail and information from an image that the regular JPEG format. A side effect of this is that the raw files take up more memory than JPEG files.
If your smartphone has this functionality, turn it on, and the final image will be easier to edit. However, if your smartphone does not shoot in raw, don’t be disappointed. In photography, most of the times it is more about capturing the moment than about the technical specs (and this is valid also for regular camera photography!).
Learn how to shoot manual
One of the game-changers of smartphone photography, the one that allows taking better photos is the possibility to shoot in manual. It takes time to get used to the manual settings, but it is the way to make the most of your device. Practise and have fun. A very general and not very photographic strict overview of the terms you will encounter:
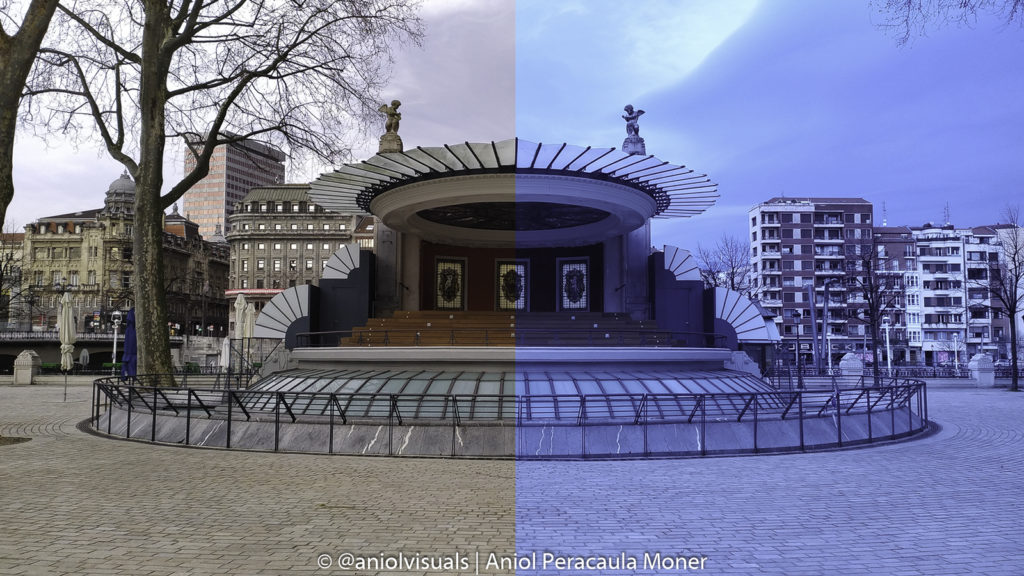
- WB or White Balance: A way to tell the camera what colour is white. It has options like cloudy, tungsten, sunny… When correctly set, the colours and tones of the image will resemble reality (see image below for a clear example!)
- F or aperture: how “much light” the camera lets in. Lower numbers indicate more light passing through the lens.
- S or Shutter speed: for how long the camera will be taking the photo. Faster shutter speeds mean that the light reaches the sensor for less time than for lower shutter speeds. The amount of light (together with the F value and the ISO) determines this value. It is usually a fraction of a second, but in low light conditions, this value increases (for example, half a second) and this is the reason why some cameras in night mode take blurry photos.
- ISO: this is a setting that will make your images look brighter or darker. For low light conditions, increasing it will make images brighter, but it has a downside: the quality of the image decreases, appearing the well-known noise, grain or “small red dots” in the photo.
In the image below, the same photo was taken with two different white balances (both are unedited). The left-half was taken with a cloudy white balance and the right-half with the tungsten white balance. Given the real conditions (cloudy weather), the cloudy white balance settings captured with more detail how the scene looked like. Pay attention to the light conditions of each situation to set the correct white balance.
Learn how your smartphone works
Every brand has its own small details. Some have an annoying watermark at the bottom left or right of the images. Others have specific photography modes (which I will mention later on). Make sure to know how your smartphone camera works, or practise and discover it. However, be aware that not knowing how it works (just like a normal camera) can have side effects, like not being able to take a specific photo. Don’t be afraid of changing settings or trying new things!
Taking the photo
Avoid zooming: use all cameras
Mobile cameras are very small. Small cameras have many benefits, but also a big drawback: they don’t have very good sensors. In a nutshell, the larger the sensor (the surface that gets the light from the exterior), the higher the quality of the final file. Smartphones have tiny sensors, and zooming decreases, even more, the quality of the image, as the surface that gets light is reduced.
Yet, mobile developers have come up with a fancy and very useful solution: Multiple cameras in a single smartphone. Besides the regular camera, some phones have zoom and wide-angle lenses included. Thus, it is possible to take good photos in more situations. Make sure to use them!
Apply the rule of thirds
If you followed the previous tips, you should have a grid of lines on your screen. Use them to position objects of interest. For example, on the bottom third of the photo place a lake, on the second third, mountains and on the top third, the sky. The rule of thirds helps to create harmonious images. However, sometimes the scene calls for different compositions. After some practice, it will be easier to see what works and what doesn’t in each situation.
In the photo below, one-third of the image is occupied by the water, the second third by the beautiful Guggenheim Museum, and the third one by the sky, balancing the presence of the museum in the image.

Avoid low-light conditions
Smartphone cameras are portable, discreet, easy to use… but don’t perform very well in low-light conditions. Even when shooting manually, the final images will have a lot of noise. Using the flash is not a recommended solution either. Flashes only illuminate a nearby area, and the strength of the flash of light can’t be regulated as with professional cameras. Try using a tripod or finding other light sources, like a street light.
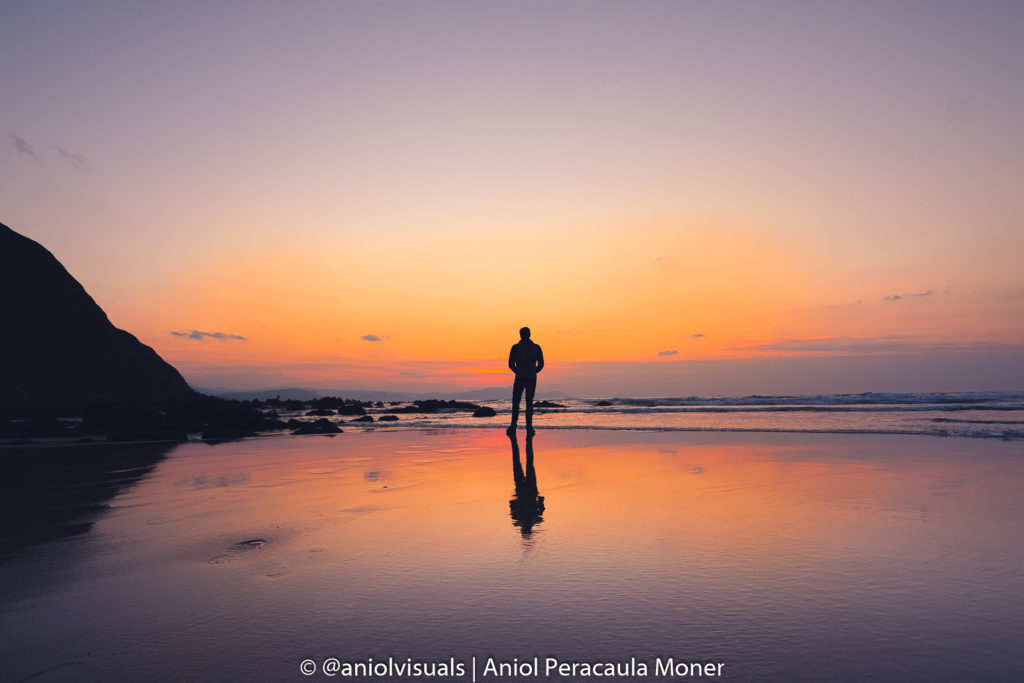
Use negative space
One of the most common mistakes novice photographers commit is to create overly crowded images. The negative space is the area around the focus or subject of an image. Use this space to give importance to the subject. Be careful when overlapping elements, try to keep some free space around the main subject of the photo.
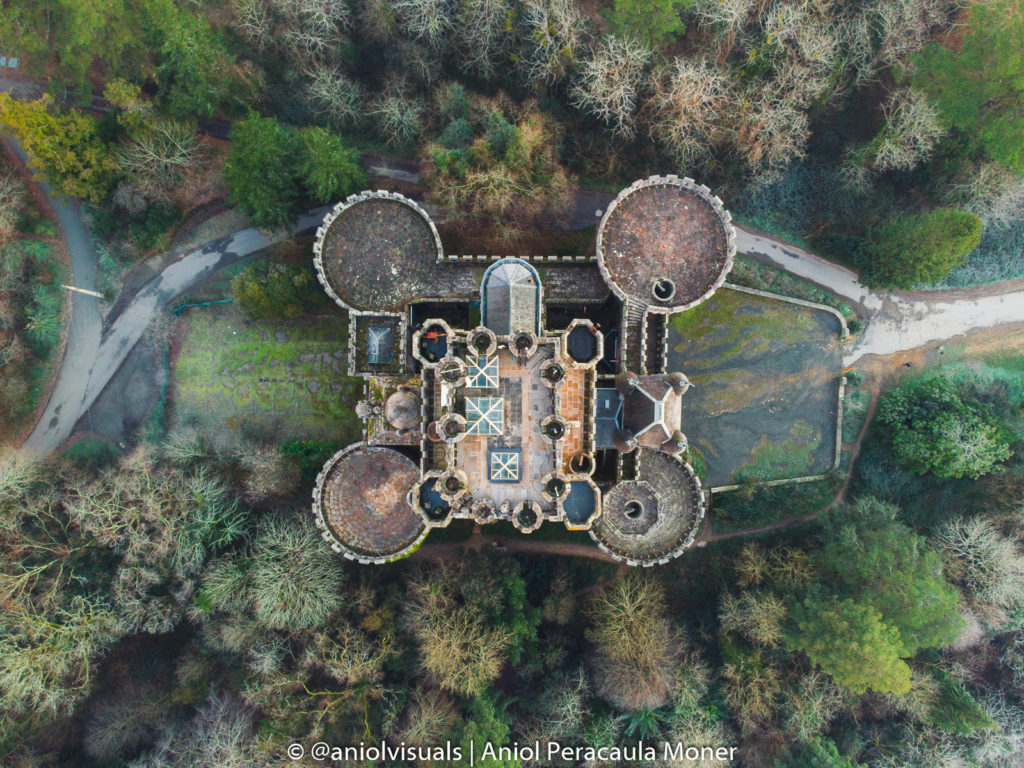
Once you dominate this technique, it is possible to reduce the negative space or just ignore it for creative reasons. The rules and techniques are the ones that help create the image, not vice-versa. However, keep them always in mind. Look at the image below, the spider structure does not have space, and it is not differentiated from the background elements. Moving a bit to the left would have created a better image!

Use a tripod
If you really want to shoot in low-light conditions, then you need a tripod. Set your camera in manual mode and choose long exposure times. But this is not the only way to use a tripod in smartphone photography! Get the silk effect on waterfalls, cars light trails, cleaner water reflections… your imagination will set the limit!
Make sure to get a good tripod. Some very cheap ones won’t handle the weight of your smartphone or will move while taking the photo. For those that shoot with larger cameras, there are adaptors to use a regular tripod as a smartphone tripod!
Focus on composition
Composition and light are everything in photography. Even with the craziest light conditions, a bad composition can ruin everything. The photography eye can only be developed by shooting hundreds if not thousands of photos. Try new compositions, watch lots of photos (Instagram is a really good place to do it!), and practise a lot.
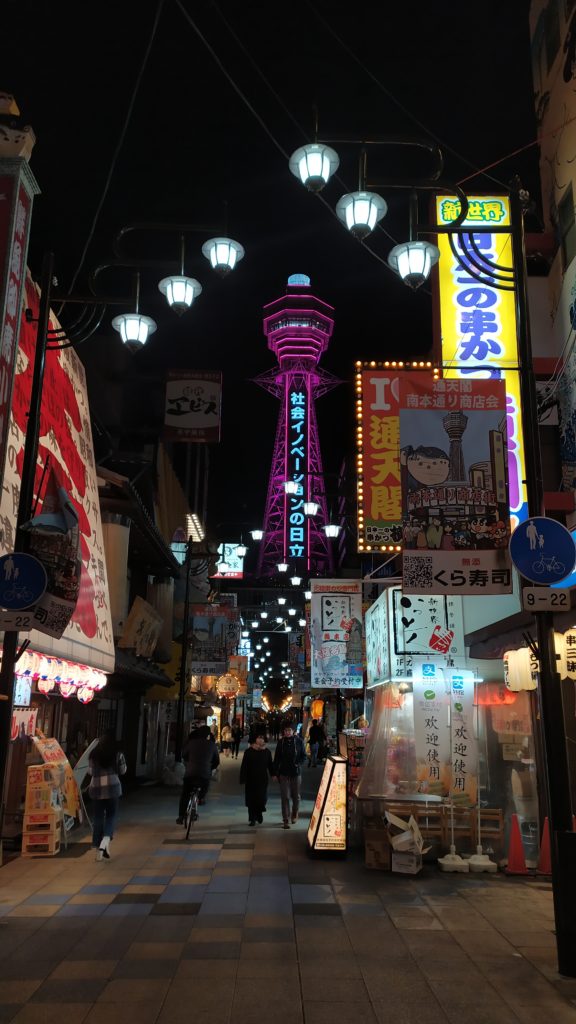
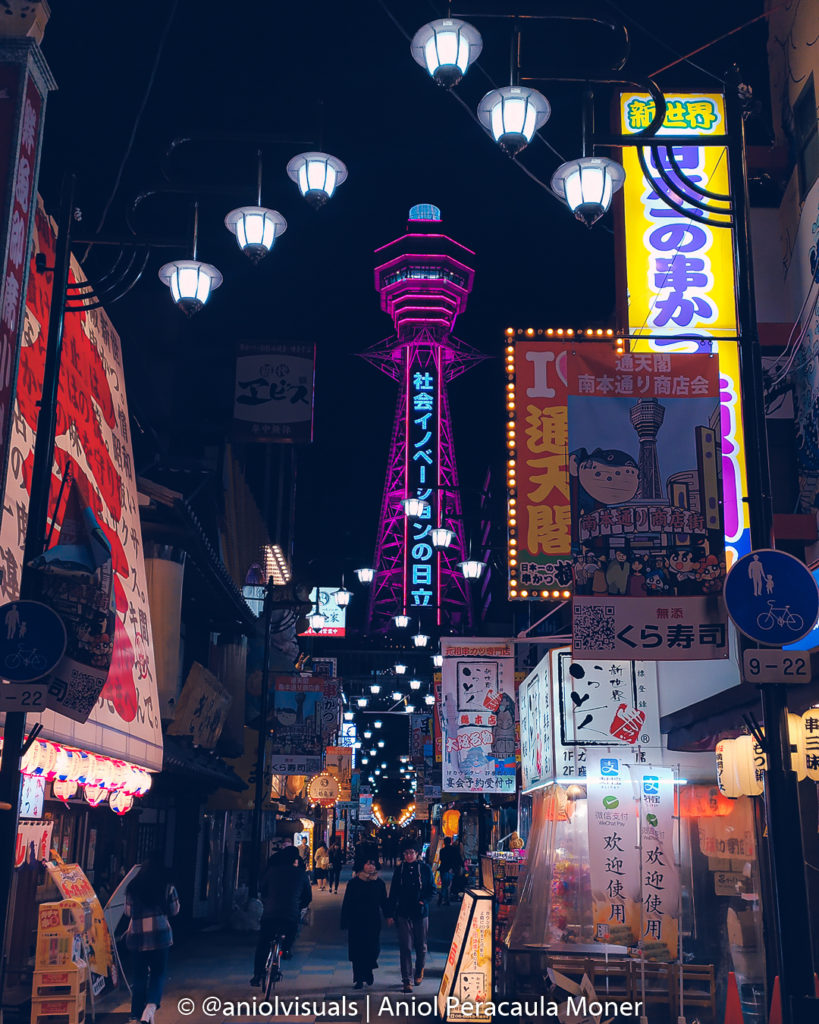
Photography is about explaining things, and even if what you want to explain is what you had for dinner, the composition will affect how you tell the story. Pay attention to the two images below. Same location, same moment. The first image was taken without paying much attention to composition (although the buildings are perfectly framed). The floor is wet, but the photo does not reflect it in any specific way. On the contrary, in the second one, the camera was closer to the ground. The reflection of the arches gives an extra touch to the image, making it special, unique, and it is easier to tell that on that same day it rained.


Shoot on good conditions
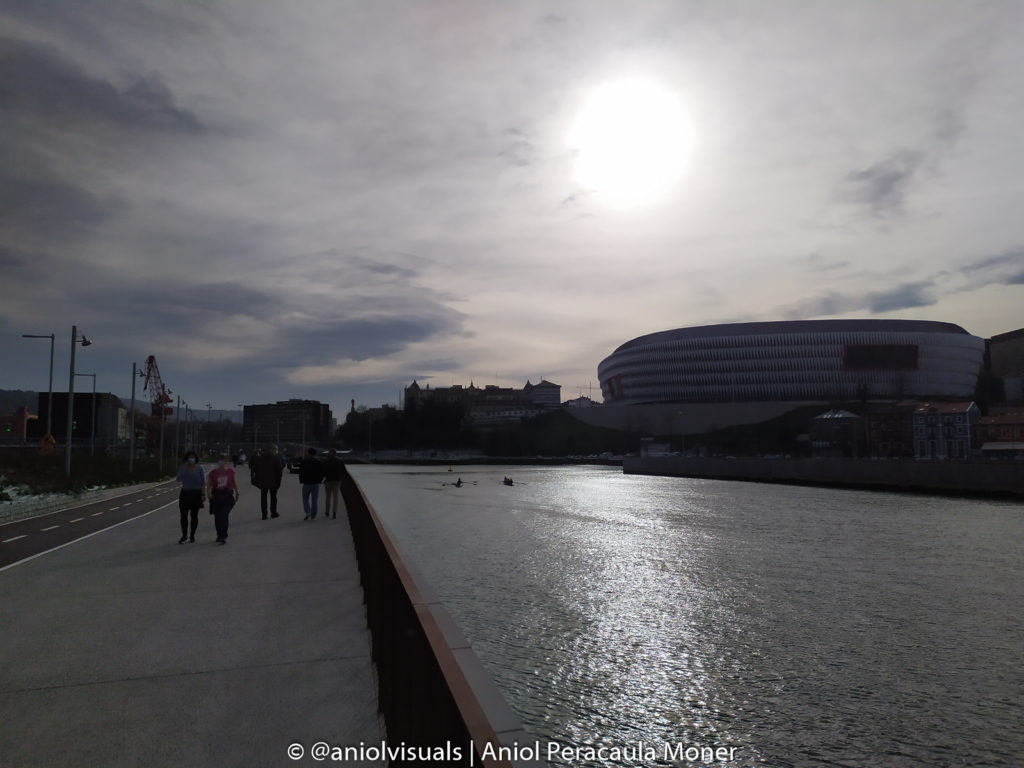
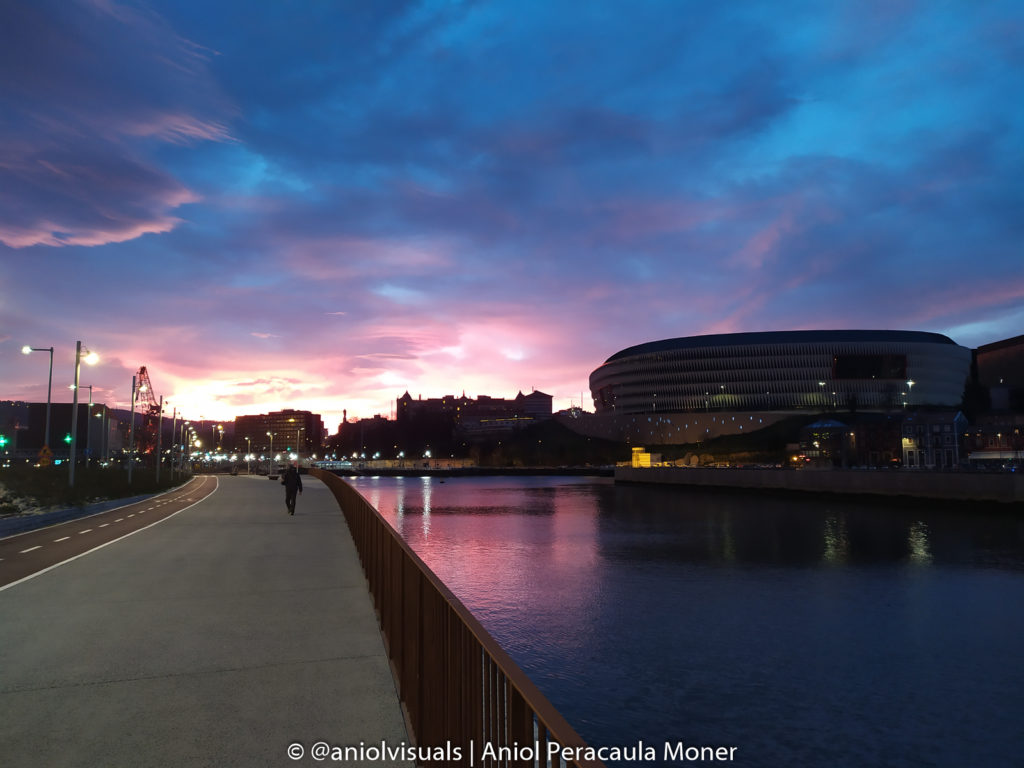
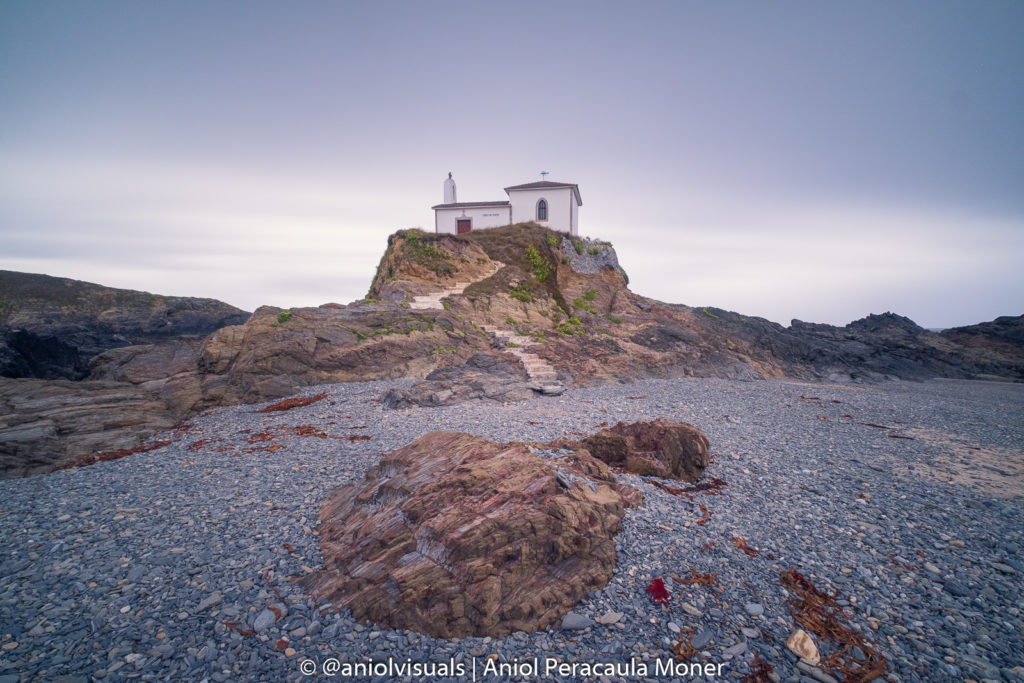
If a good composition is essential to take good photos, the conditions are what make them unique. The best light for photography happens around sunrise and sunset, during the so-called golden hour and blue hour.
The blue hour happens before sunrise and after sunset, and as its name indicates, and its most characteristic feature is that the sky has a deep blue tone. On the other hand, the golden hour occurs around sunrise and sunset, it varies depending on the latitude and season, but it is easy to identify because light has a yellowish tone that adds up to the images.
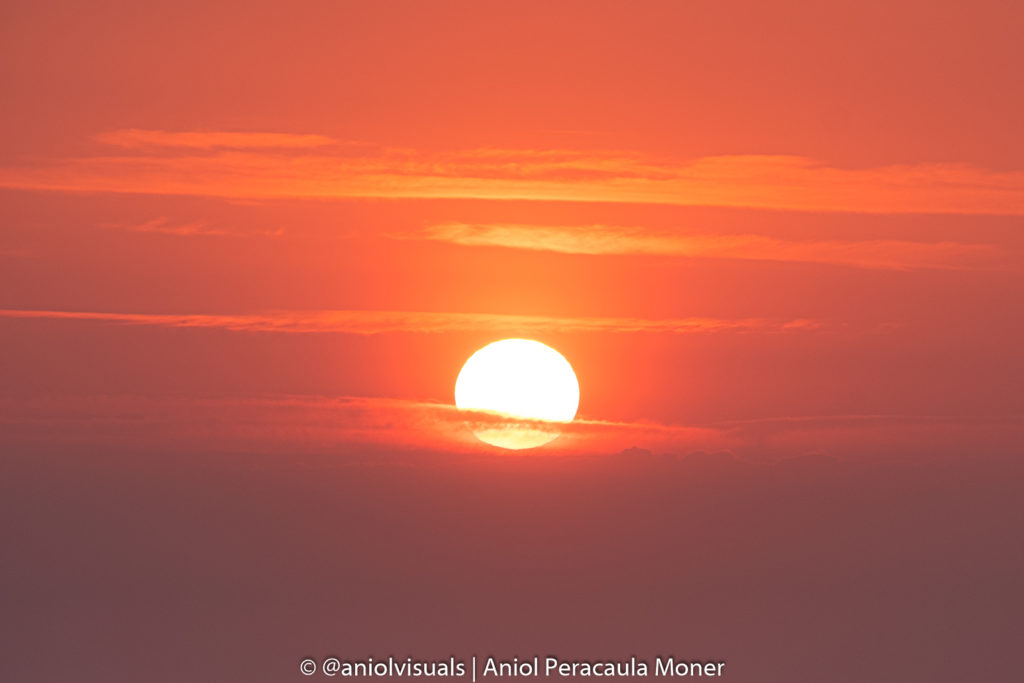
Look at the two photos below. They were taken on the same day! The first one was taken at 11:00 am. The second one at 7:30 am. Smartphone photography, like any other type of photography requires sacrifices if shooting landscapes or cities. Pay attention to another detail. The number of people in each photo. To take photos without people or tourists, wake up early, and you will get both the light and the silence.
Don’t abuse of HDR
HDR means high dynamic range. An HDR photo then is a combination of (usually) 3 photos, obtaining more information about the image, avoiding very dark or blown out sections. However, HDR also has its problems. The contrast of the image is reduced greatly, and the photos look “flat”. Use it only when necessary, especially in those situations when half of the image is completely white or dark.
Remember to keep your smartphone still, it will be taking more than one photo. Avoid it at night unless you are using a tripod. Chances are that the final photo will be blurry and therefore, useless.
Smartphone photography edition
Don’t crop
It was previously mentioned to avoid zooming. This is the same tip but in the edition process. Cropping smartphone photos is not a very good idea. Despite the quality of the cameras keeps getting better and better every day, the sensor size is not comparable to even a cheap DSLR. Thus, don’t crop your images. Try to get closer to the object, find other perspectives,… but make sure that the final image will not require to be cropped.
Lightroom Mobile
Don’t be afraid of editing your photos! There are many programs that work wonders, but my favourite one (and the one I recommend) is Lightroom Mobile. It is not the easiest one, Snapseed is easier and more user friendly, but Lightroom has lots of other useful features. The mobile version is free, although to use some advanced features, an Adobe account is required. The edit below was done using the free version of Lightroom Mobile.
For the photographers out there, if you are using Lightroom on your PC and have a license, it is possible to connect the Lightroom on your smartphone with the PC version. It is a game-changer for your workflow.
These are 15 tips on how to take better smartphone photos. Apply them and the quality of your photos will increase significantly. Do you have any other tip? any questions? Leave them below in the comments!
Most of the photos (except the last ones) that appear in this post were taken in Bilbao, a beautiful Northern Spain city. Make sure to check my Bilbao photography guide to see more of the city!
Discover Bilbao!
A photography guide to the capital of the Basque Country. Check it here!
If you like photography, follow me on Instagram (@aniolvisuals) for travel photography, photography tips and much more. For any inquiries feel free to message me at hello@aniolvisuals.com.
Drone photography with a DJI Mini 2: best tips to take amazing photos
10 reasons to stop posting on Instagram as a creator
Solo travel photography: 11 tips you have to know
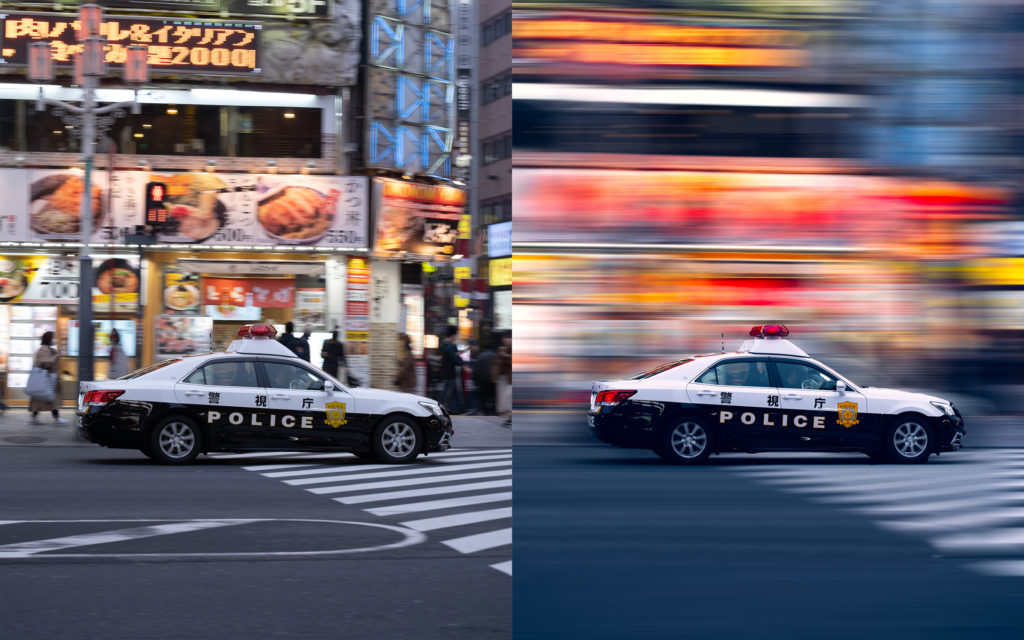
Panning photography: how to take it and how to fake it (Photoshop)
10 differences between camera and smartphone photography: an ultimate list
Pingback: 10 differences between camera and smartphone photography: ultimate list