So, you are dreaming about taking amazing aerial photos, even some videos… but you don’t know how to get started? You are at the right place! Because while I am writing these lines, I don’t own a drone. However, by the end of this guide, I will own one, and have some amazing photos to share. I am a photographer, I have been taking photos for many years, but it hasn’t been until today that I have decided to get a drone and find a new way to take photos. This is my how to get started with drone photography guide.
Why do you want a drone?
This is the first question that I asked myself when I started fantasizing with the idea of getting a drone. Why do I really want a drone? All answers are valid as long as they convince yourself. I know I do want a drone to take different photos (not better), and to get started into videography (although I will cover this in another article).
If your answer is because I am curious about how the world looks from above, it is still a valid answer. If it is to get more likes on Instagram, it is a valid answer. Only consider not getting a drone if you already know you won’t be flying it. It might sound nonsense, but don’t we all buy things knowing we won’t be using them? Be honest with yourself and spend the money on something else.
However, if you are here, it is because you really want a drone. So, what’s next?
Try it before you buy it
Flying a drone has nothing to do with taking photos. Piloting it, being able to fly it to the right position… it is all about the controls. Therefore, I highly encourage you to try flying a drone before you buy one. A friend, a relative,… anyone that has a drone will work. Even if it is not the exact same model you plan to get. To get started with drone photography, being able to fly a drone properly is very important.
Get up in the air for 20-30 minutes and see how it feels. Nowadays most of the people buy DJI or Parrot drones, and controls will be quite similar from one model to another. I had the chance to fly a DJI Mavic mini, and it felt great. A little bit harder at the beginning, but in just 20-30 minutes I was able to start getting some nice shots or videos. This is what I obtained when flying my friend’s drone for the first time. Not bad, right? After trying it, I knew I would be able to fly a drone. Next step!
Laws and rules
Maybe this should be step number 2, but before buying any drone do some research on the drone-flying rules that apply to your area. This will also affect the purchase decision. Depending on the weight of the drone, the areas and possible licenses you will need, change. I live in Spain, and starting January 2021, a new European Regulation will modify the way people fly drones.
In countries like Canada (at least while this article is being written), drones over 255 grams require taking a course and an official license to be flown. Thus, get informed, and learn what you will be able to do and what you will not before you get started with drone photography. Imagine buying a drone and not being able to fly it… a total nightmare.
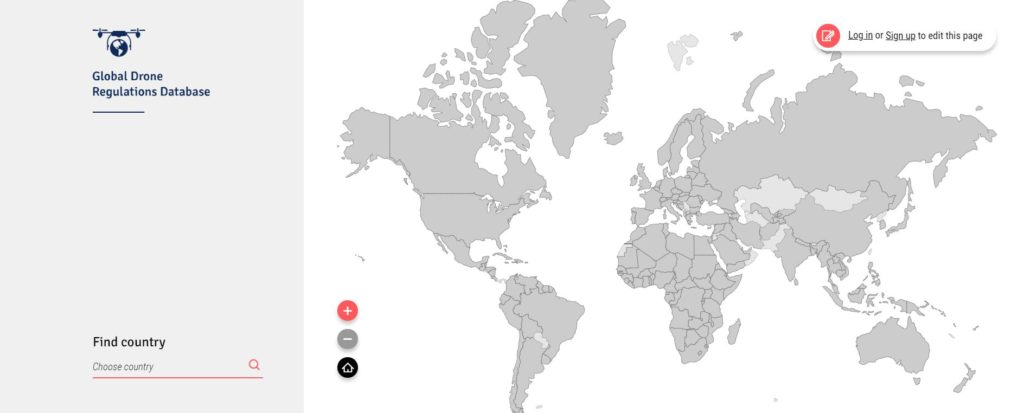
Check the official legislation of your own country. When travelling there are some useful sources online such as https://droneregulations.info/index.html
Choose your drone
Deciding what drone fits you is a hard and always changing task. Of course we all want the best image quality possible, but there are economical limitations, and other things to consider when taking this decision. It is not all about money, but also about the laws, rules, and type of footage you want to get.
I am a very light traveller, in fact, I usually carry a 35L backpack with me, no matter the length of the trip (photography gear included). Thus, I need a very small drone, something that can give me high-quality images and video, but without forcing me to carry a lot of extra weight.
As I mentioned before, the economical variable is important, but in my case, I could afford a more expensive drone than the one I bought. I finally decided to get a DJI Mini II. The other option was the Mavic Pro 2, but it was too heavy and the rules and limitations of flying it helped me decide to get the Mini II.
Your first flight
When I got my drone, the first idea I had was to fly it indoors, take it out of the box and start flying. This is a terrible idea. For your first flight, find an open space, without power towers, and of course, a place where it is legal to fly a drone.
What you can do just when you get the drone is getting familiarized with the instructions manual. I am one of those that don’t usually read them, I prefer trying what a specific button does. For both cameras and drones, though, I think it is better to read them at least once and to carry them with you. You never know when you’ll need them.
Fortunately, drones are very easy to fly. If you followed step 2, you will already know what to expect. However, if it hasn’t been possible to find someone with a drone, don’t be afraid. It is like playing a videogame.
Your first flight will be the ideal moment to test batteries, camera, and get the first shots. If you have read the manual, try some of the functionalities or flying modes. It will take time to get familiarized with this whole new experience. Pro tip: avoid water bodies when you get started with drone photography. Flying over water is quite scary and if you crash the drone, there is no way to recover the “corpse”.
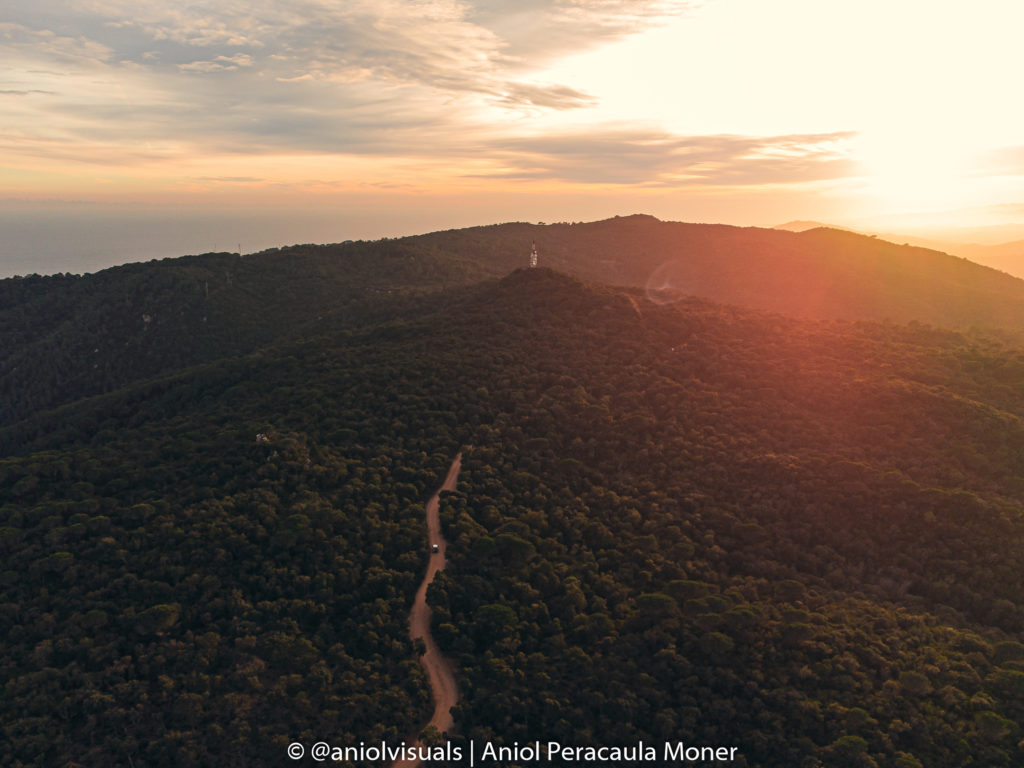
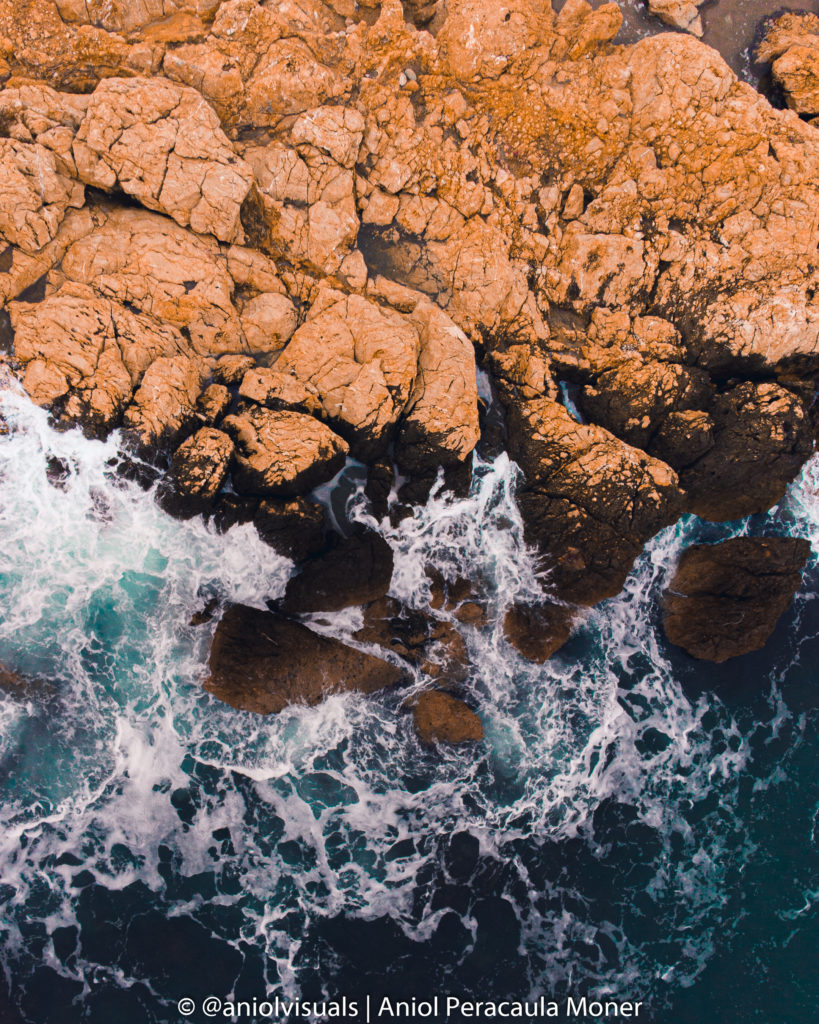
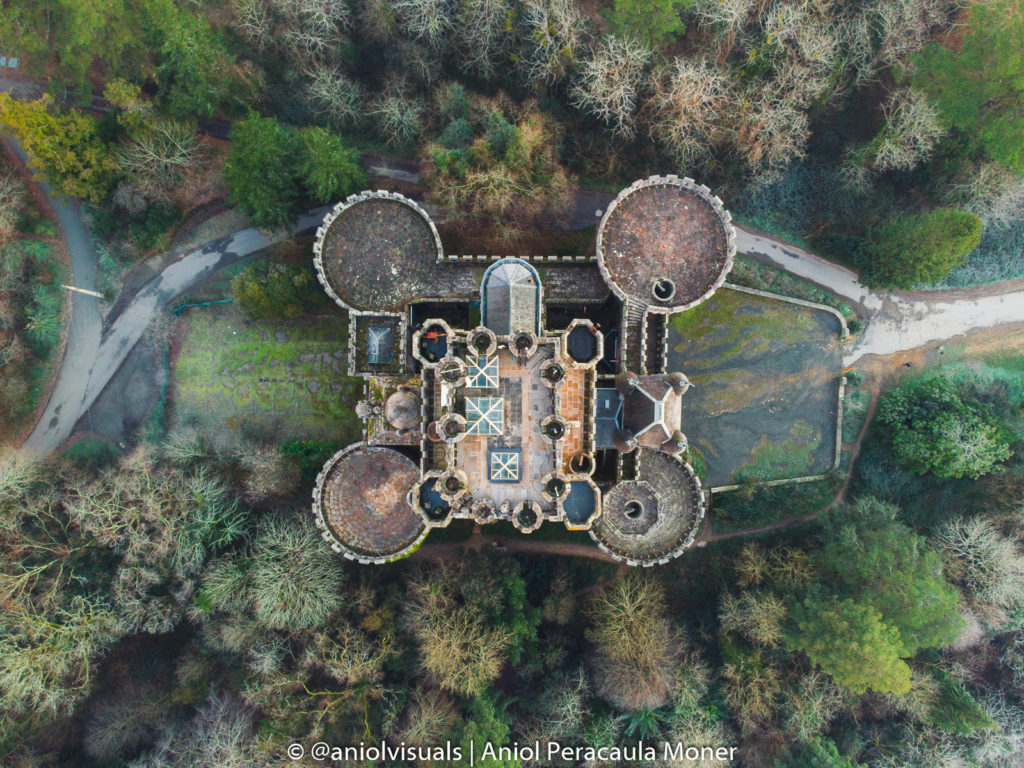
My first flight was amazing. I went with a friend to make sure someone had visual contact with the drone the whole time. We had fun and tried to get some good photos. Despite being my first time, I was satisfied with the final result. Here you have my first acceptable drone photos!
Editing your photos
After the first flight, it is time to review the photos. When I looked at my first photos, I felt a mixture of excitement and disappointment. I am used to take photos and I know what to expect when I review them. However, with the drone there is a new dimension in any photo, and just like in regular photography there’s a need to develop an eye for composition, the same happens in aerial photography. This is exciting, because it means that there is a lot of room for improvement. Yet, this also means that the first photos will have some errors.
The edition process will depend largely on your editing skills and the type of photos. Of course, try to shoot in raw to have more felxibility when editing the images. Experiment and discover which are the things that you can improve in your next flights.
The learning curve
Now it is time to fly and shoot. Get addicted to flying, to the new type of images that your brand new dron provides. Share them with people that will give you honest reviews, it is the fastest way to get better in any art.
After 2 months flying, my photos have improved significantly. I feel more confortable with the drone, I know how it responds, the sensor, settings… making the creative process way easier.

Did you just got started with drone photography? Do you own a drone? Which drone would you like to try? Drop your Instagram username below so we all can check your aerial photographies and give some honest and healthy feedback! If you want to check my (drone) photos, feel free to follow me on my Instagram, @aniolvisuals. If you want to use any of my images, please contact me at hello@aniolvisuals.com.
Explore other photography guides and tips!
Drone photography with a DJI Mini 2: best tips to take amazing photos
10 reasons to stop posting on Instagram as a creator
Solo travel photography: 11 tips you have to know
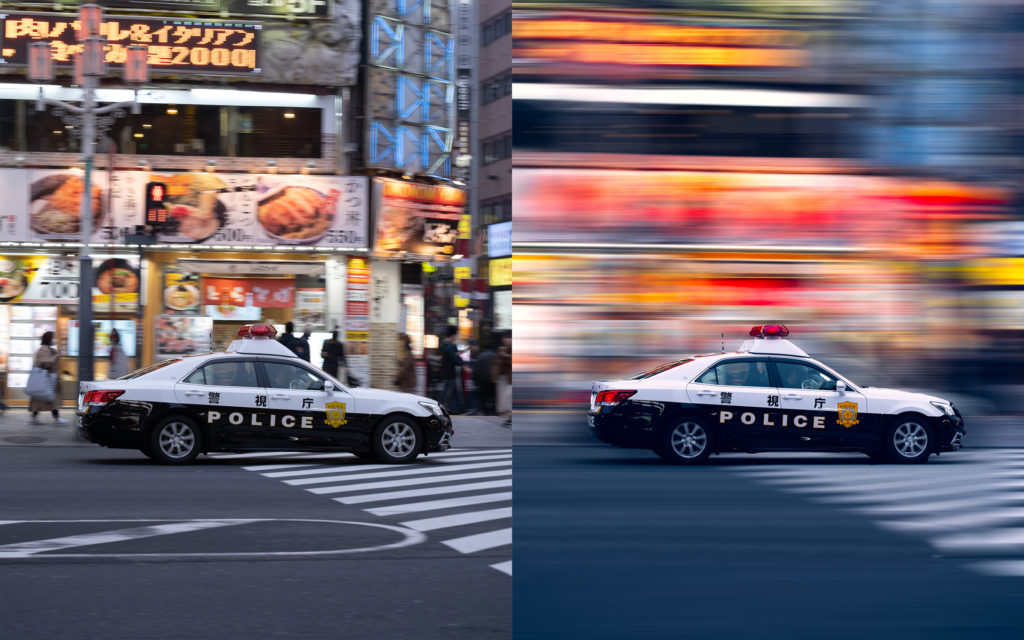
Panning photography: how to take it and how to fake it (Photoshop)
10 differences between camera and smartphone photography: an ultimate list
How to get better at smartphone photography
7 tips for amazing cloudy sunset (and sunrise) photography
How to get started with drone photography: a step-by-step guide
My best 2020 images. Part II: Japan photography
My best 2020 images. Part I: Spain photography

How to set goals that will improve your photography [2021]
How to capture motion in photography
9 amateur photography mistakes and how to avoid them
How to improve your photography skills: 10 free tips

10 apps that will help you take better landscape photos
14 things you should know about Sunset Photography

Waterfall photography: all you need to know. Gear, settings, and tips
How to take amazing photos on a cloudy day
How to take amazing reflection photos: 10 tips you must know
Long exposure vs short exposure photography: things you need to know
Long exposure photography for beginners: an ultimate step-by-step guide
Sunrise vs Sunset photography: things you need to know